No products in the shopping cart.

No products in the shopping cart.

Signing a PDF document with SimplySign on your computer

Signing PDF documents (Adobe Reader, Adobe Acrobat) with a SimplySign qualified electronic signature is very simple. The whole process takes about a minute. Below we have included a video and detailed instructions on how to do it on your computer.

Nevertheless, if you intend to buy SimplySign from us, don't bother - we will help you install the signature and show you how to sign documents 🙂 .

What it takes to sign a PDF using SimplySign:

  • SimplySign active signature (if you don't already have one, click here)
  • internet access
  • proCertumSmartSign and SimplySignDesktop software installed on the computer where you want to sign documents (if you need to install the program, click here)

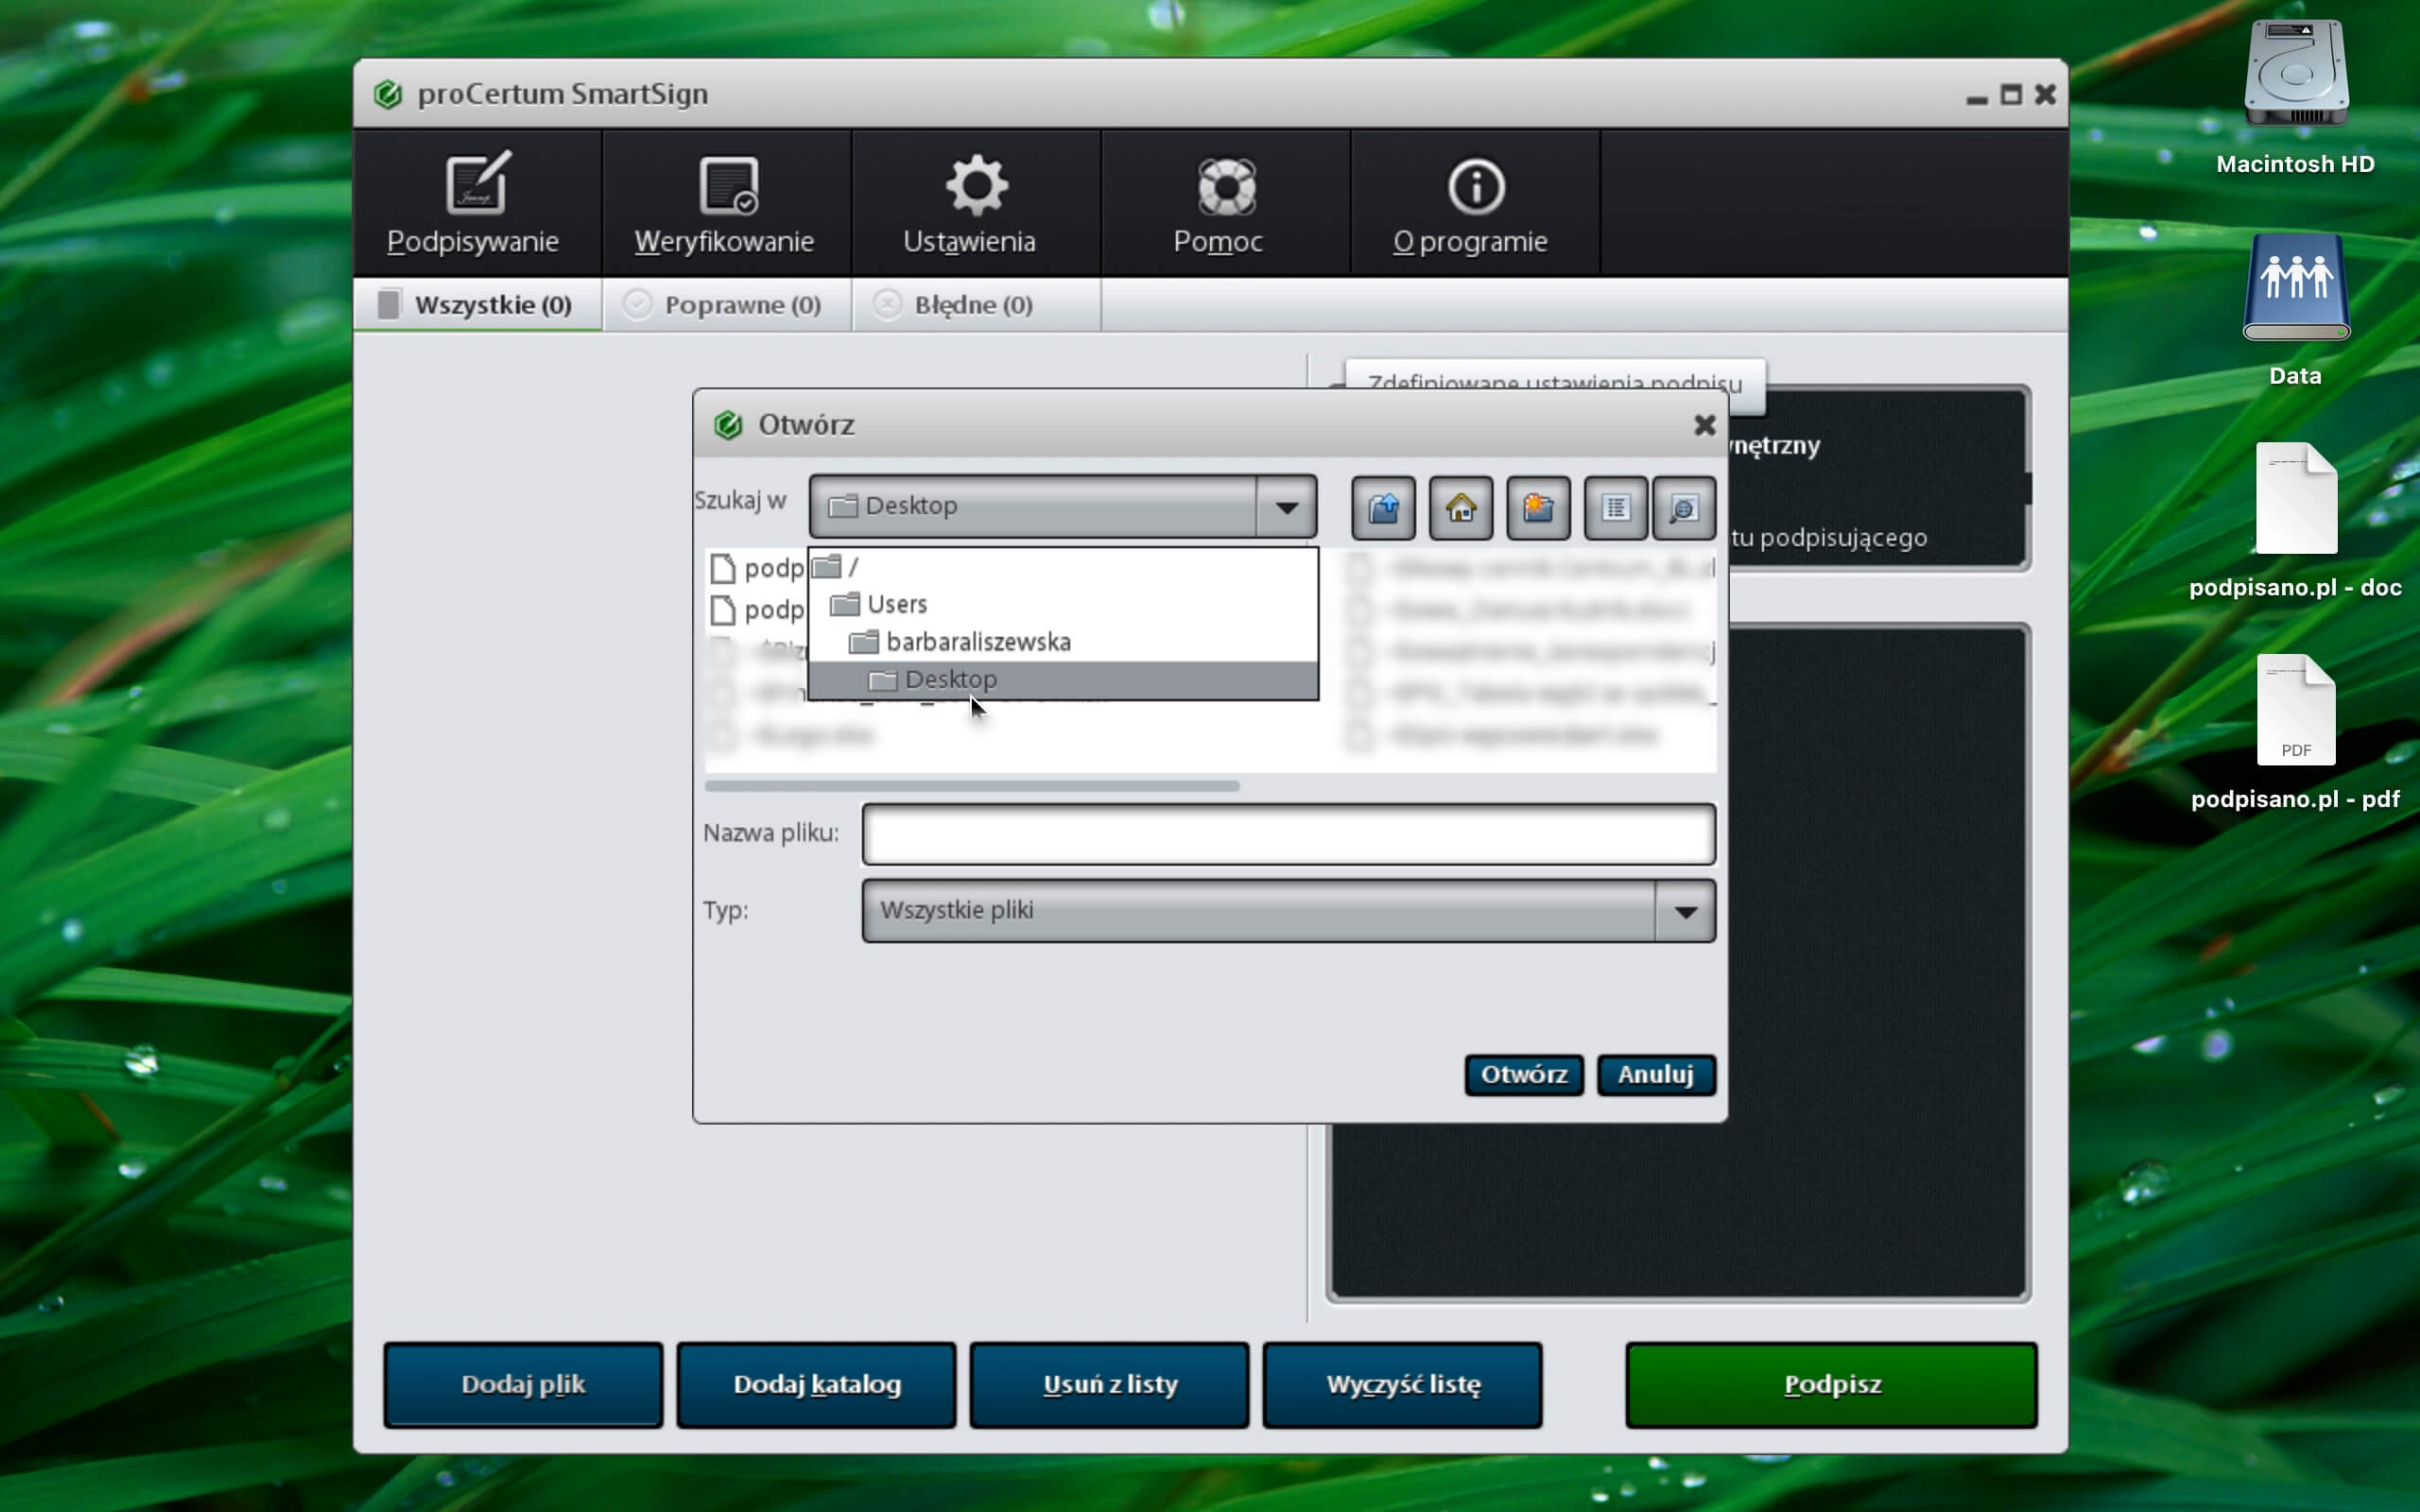
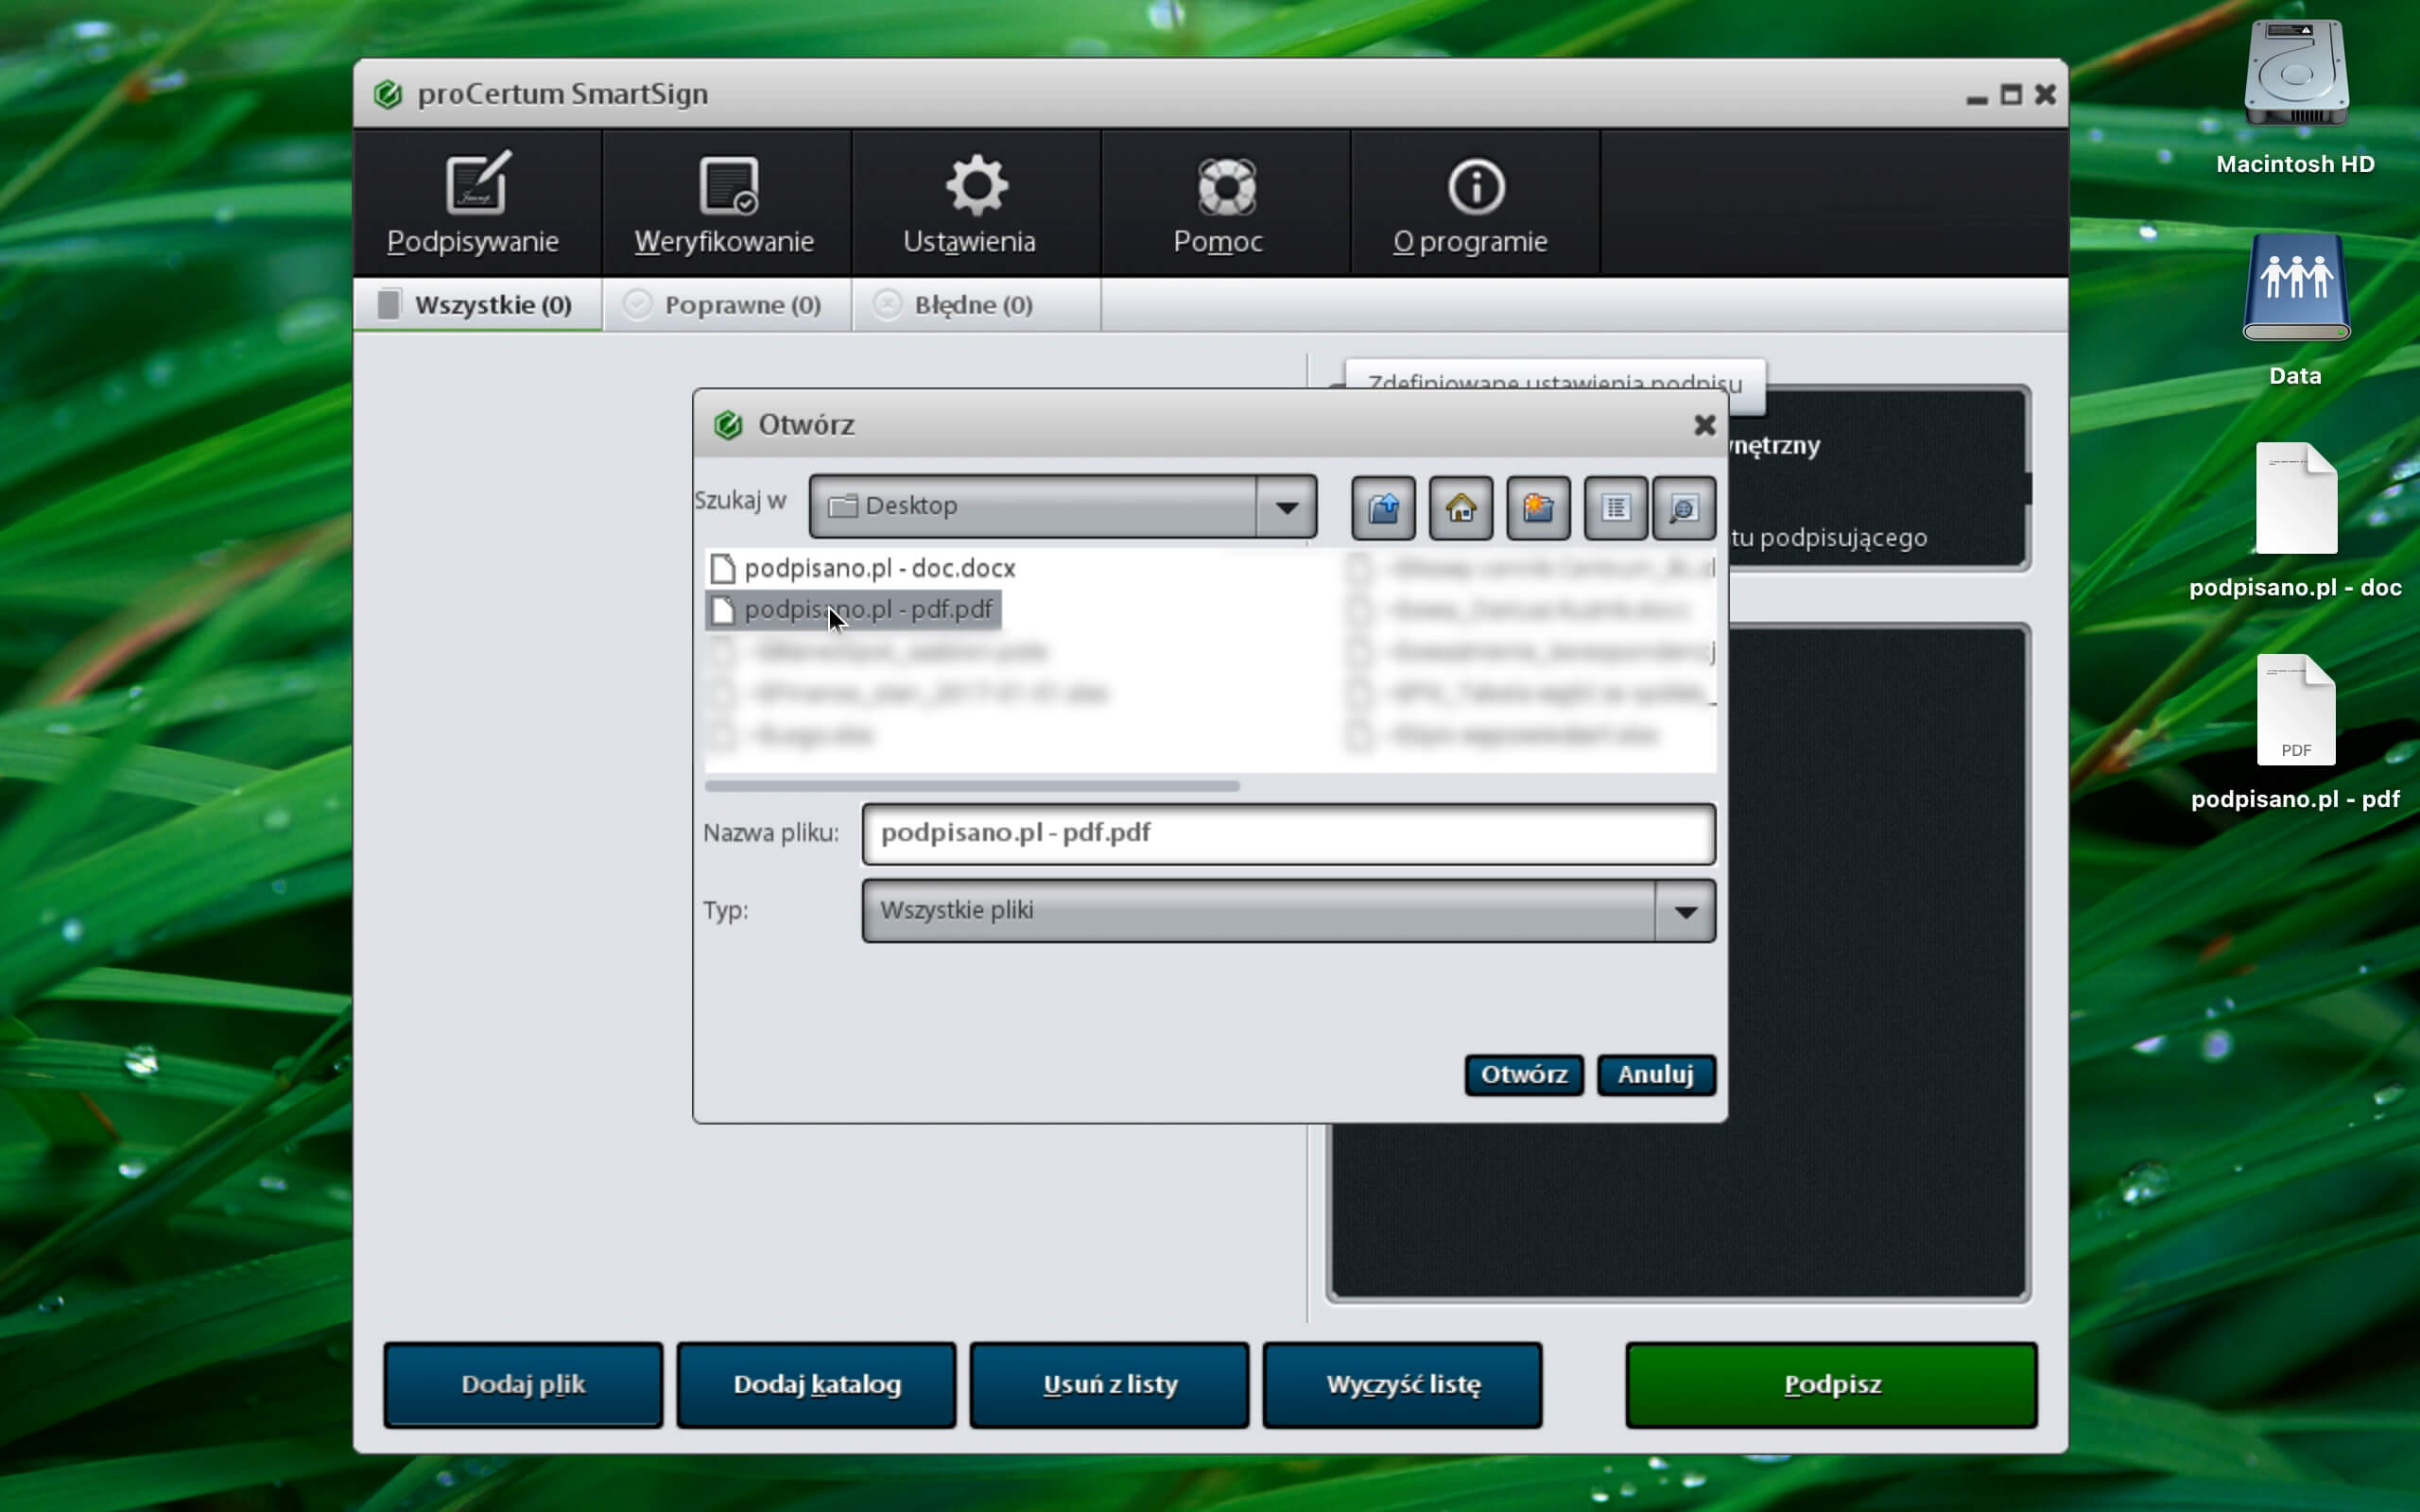
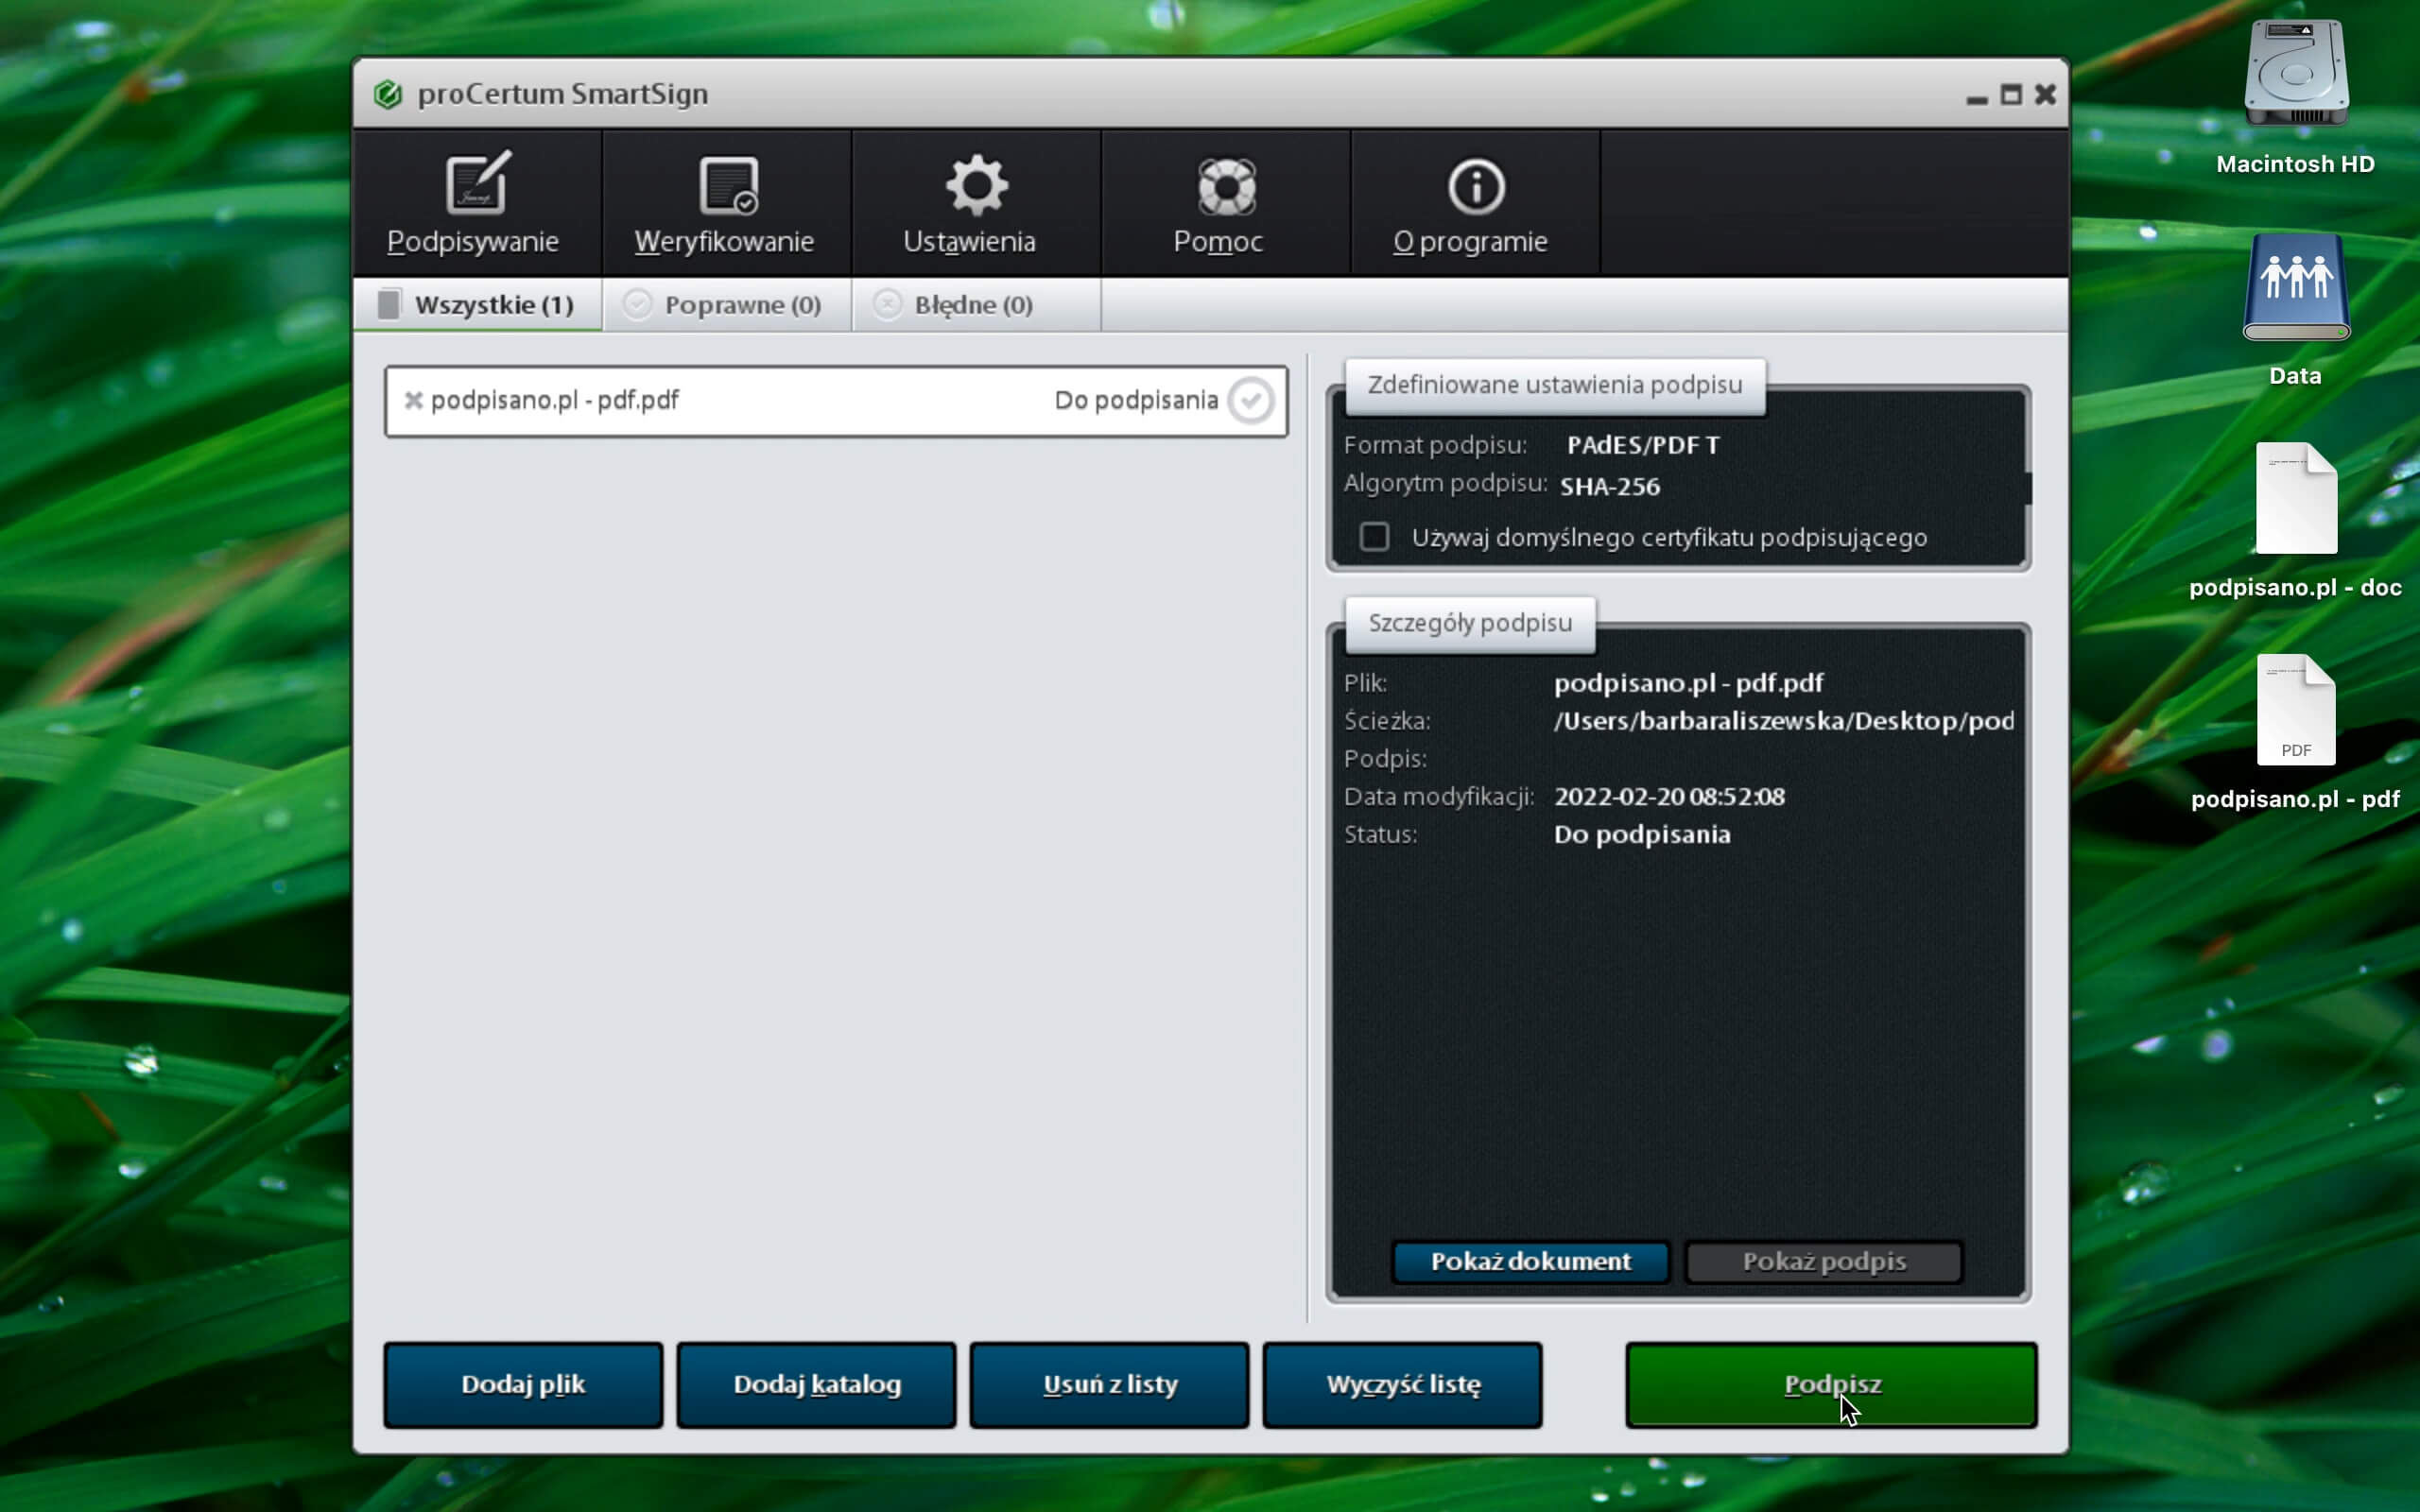
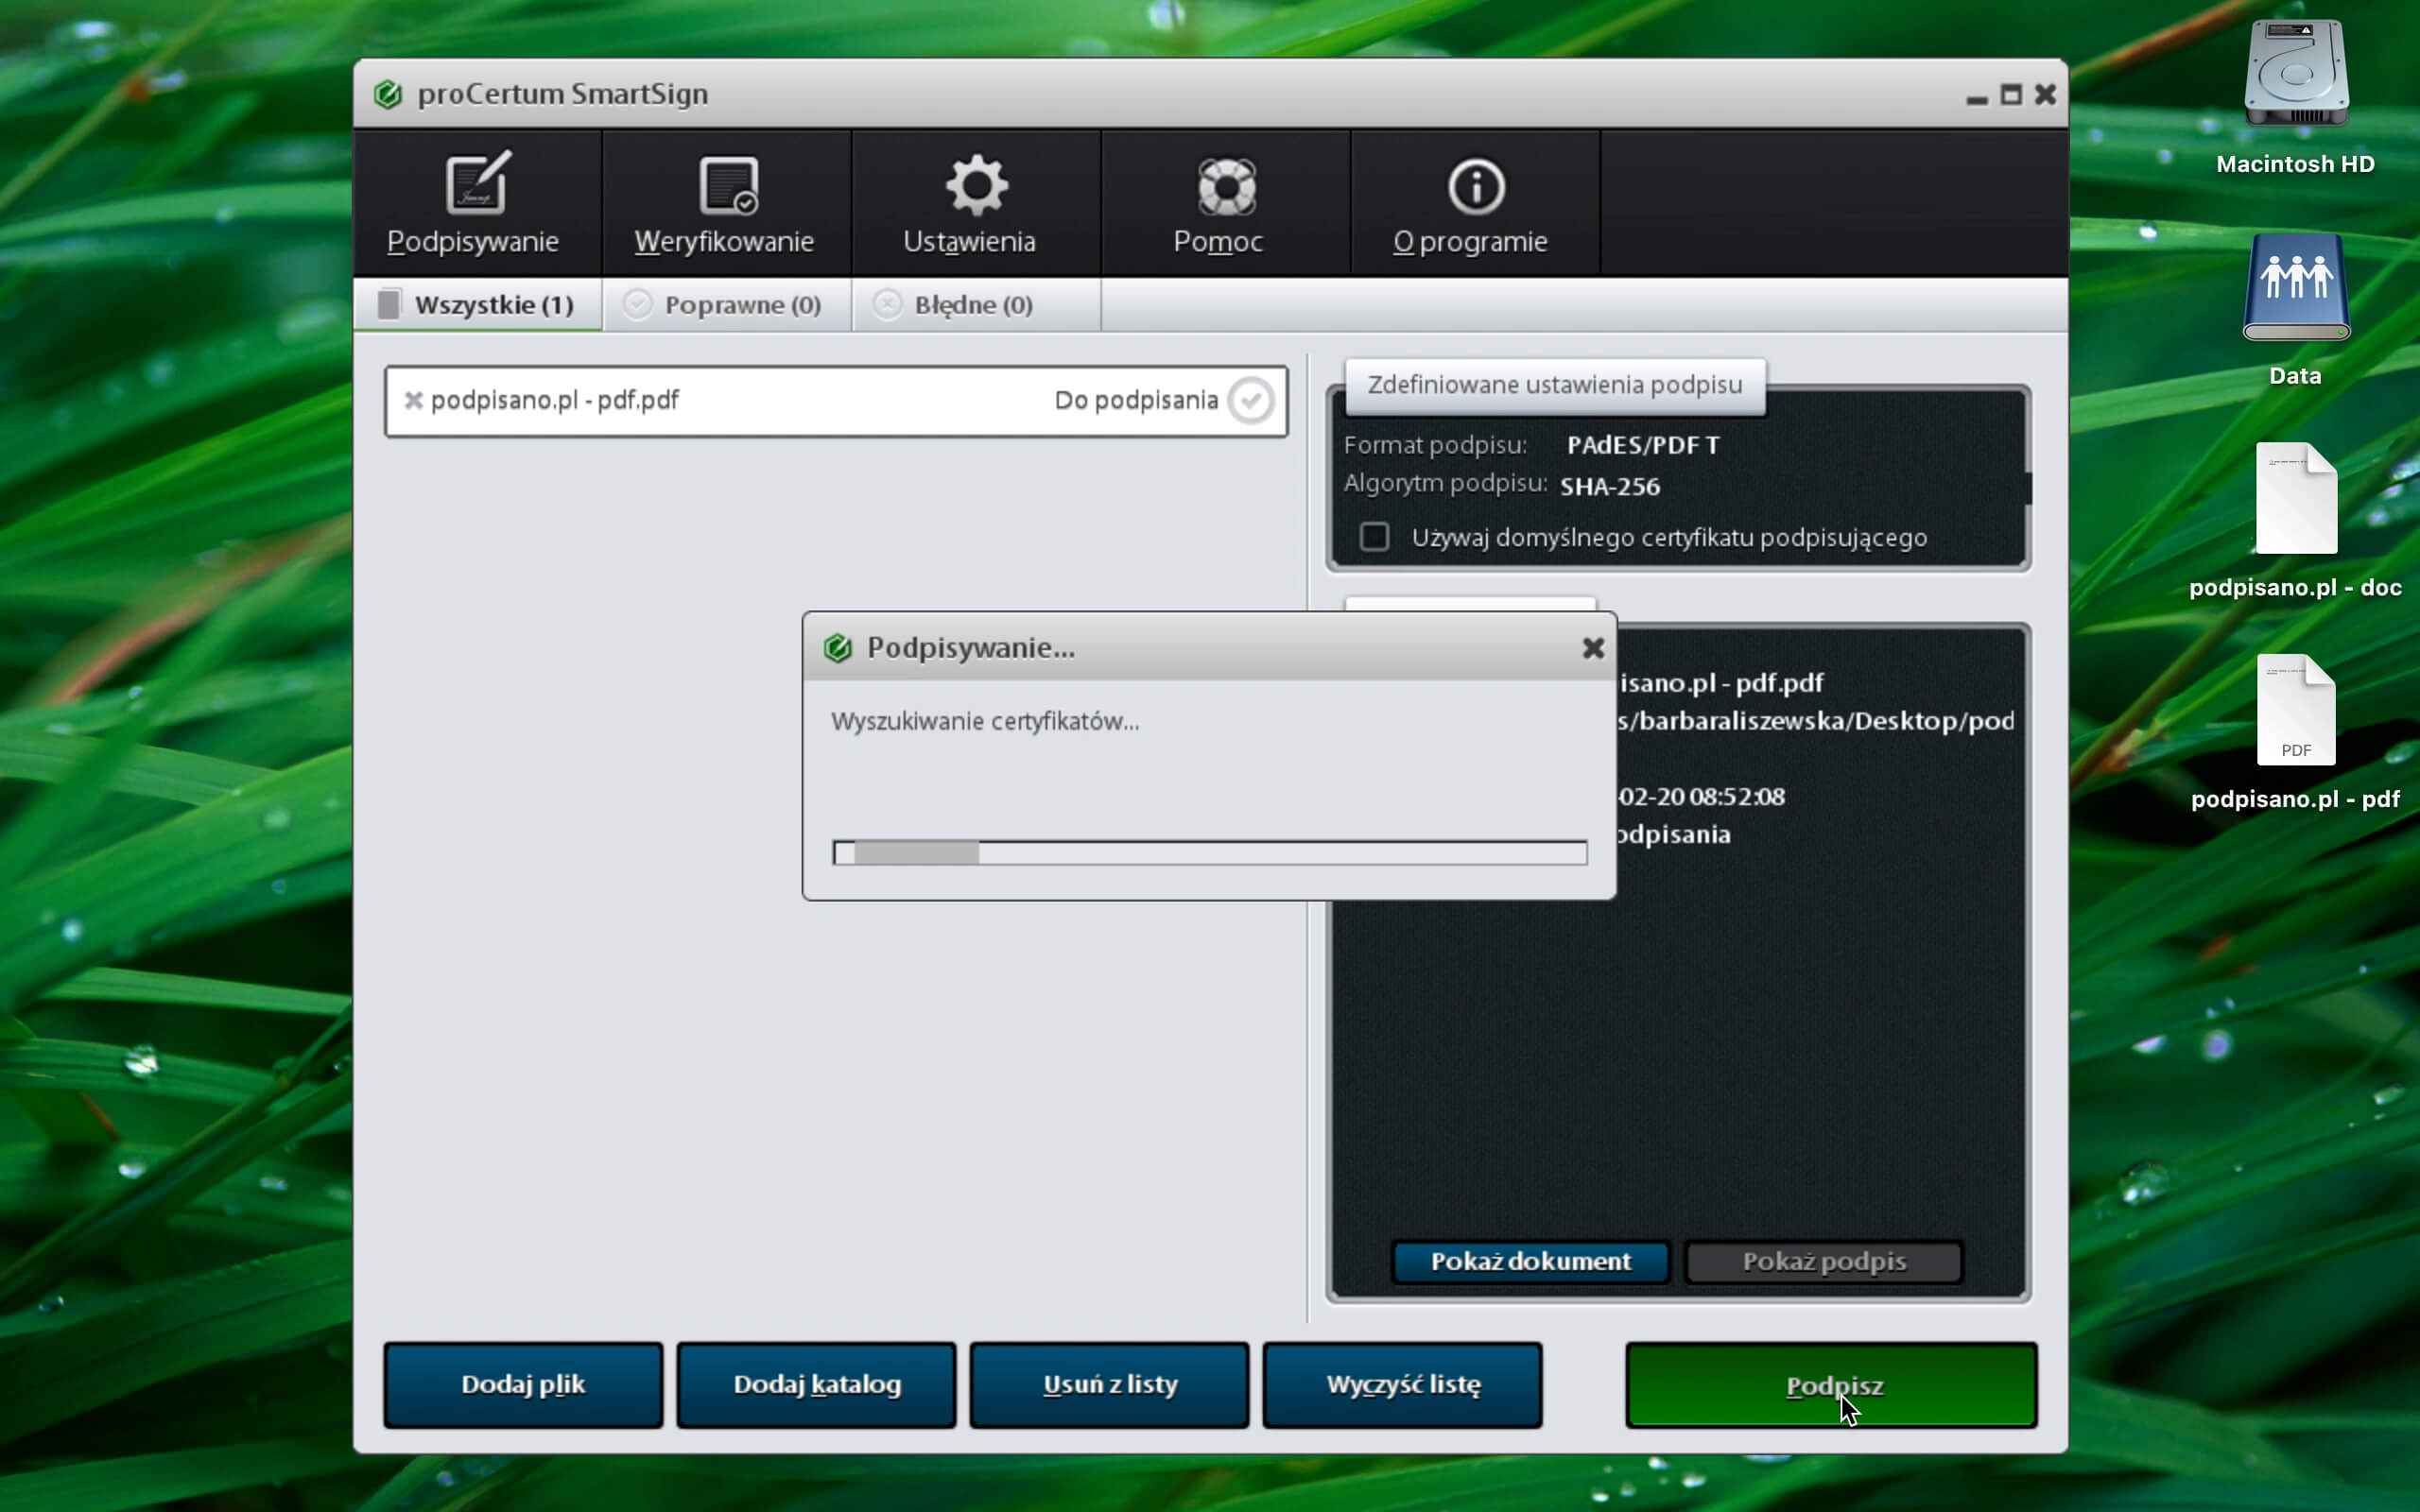
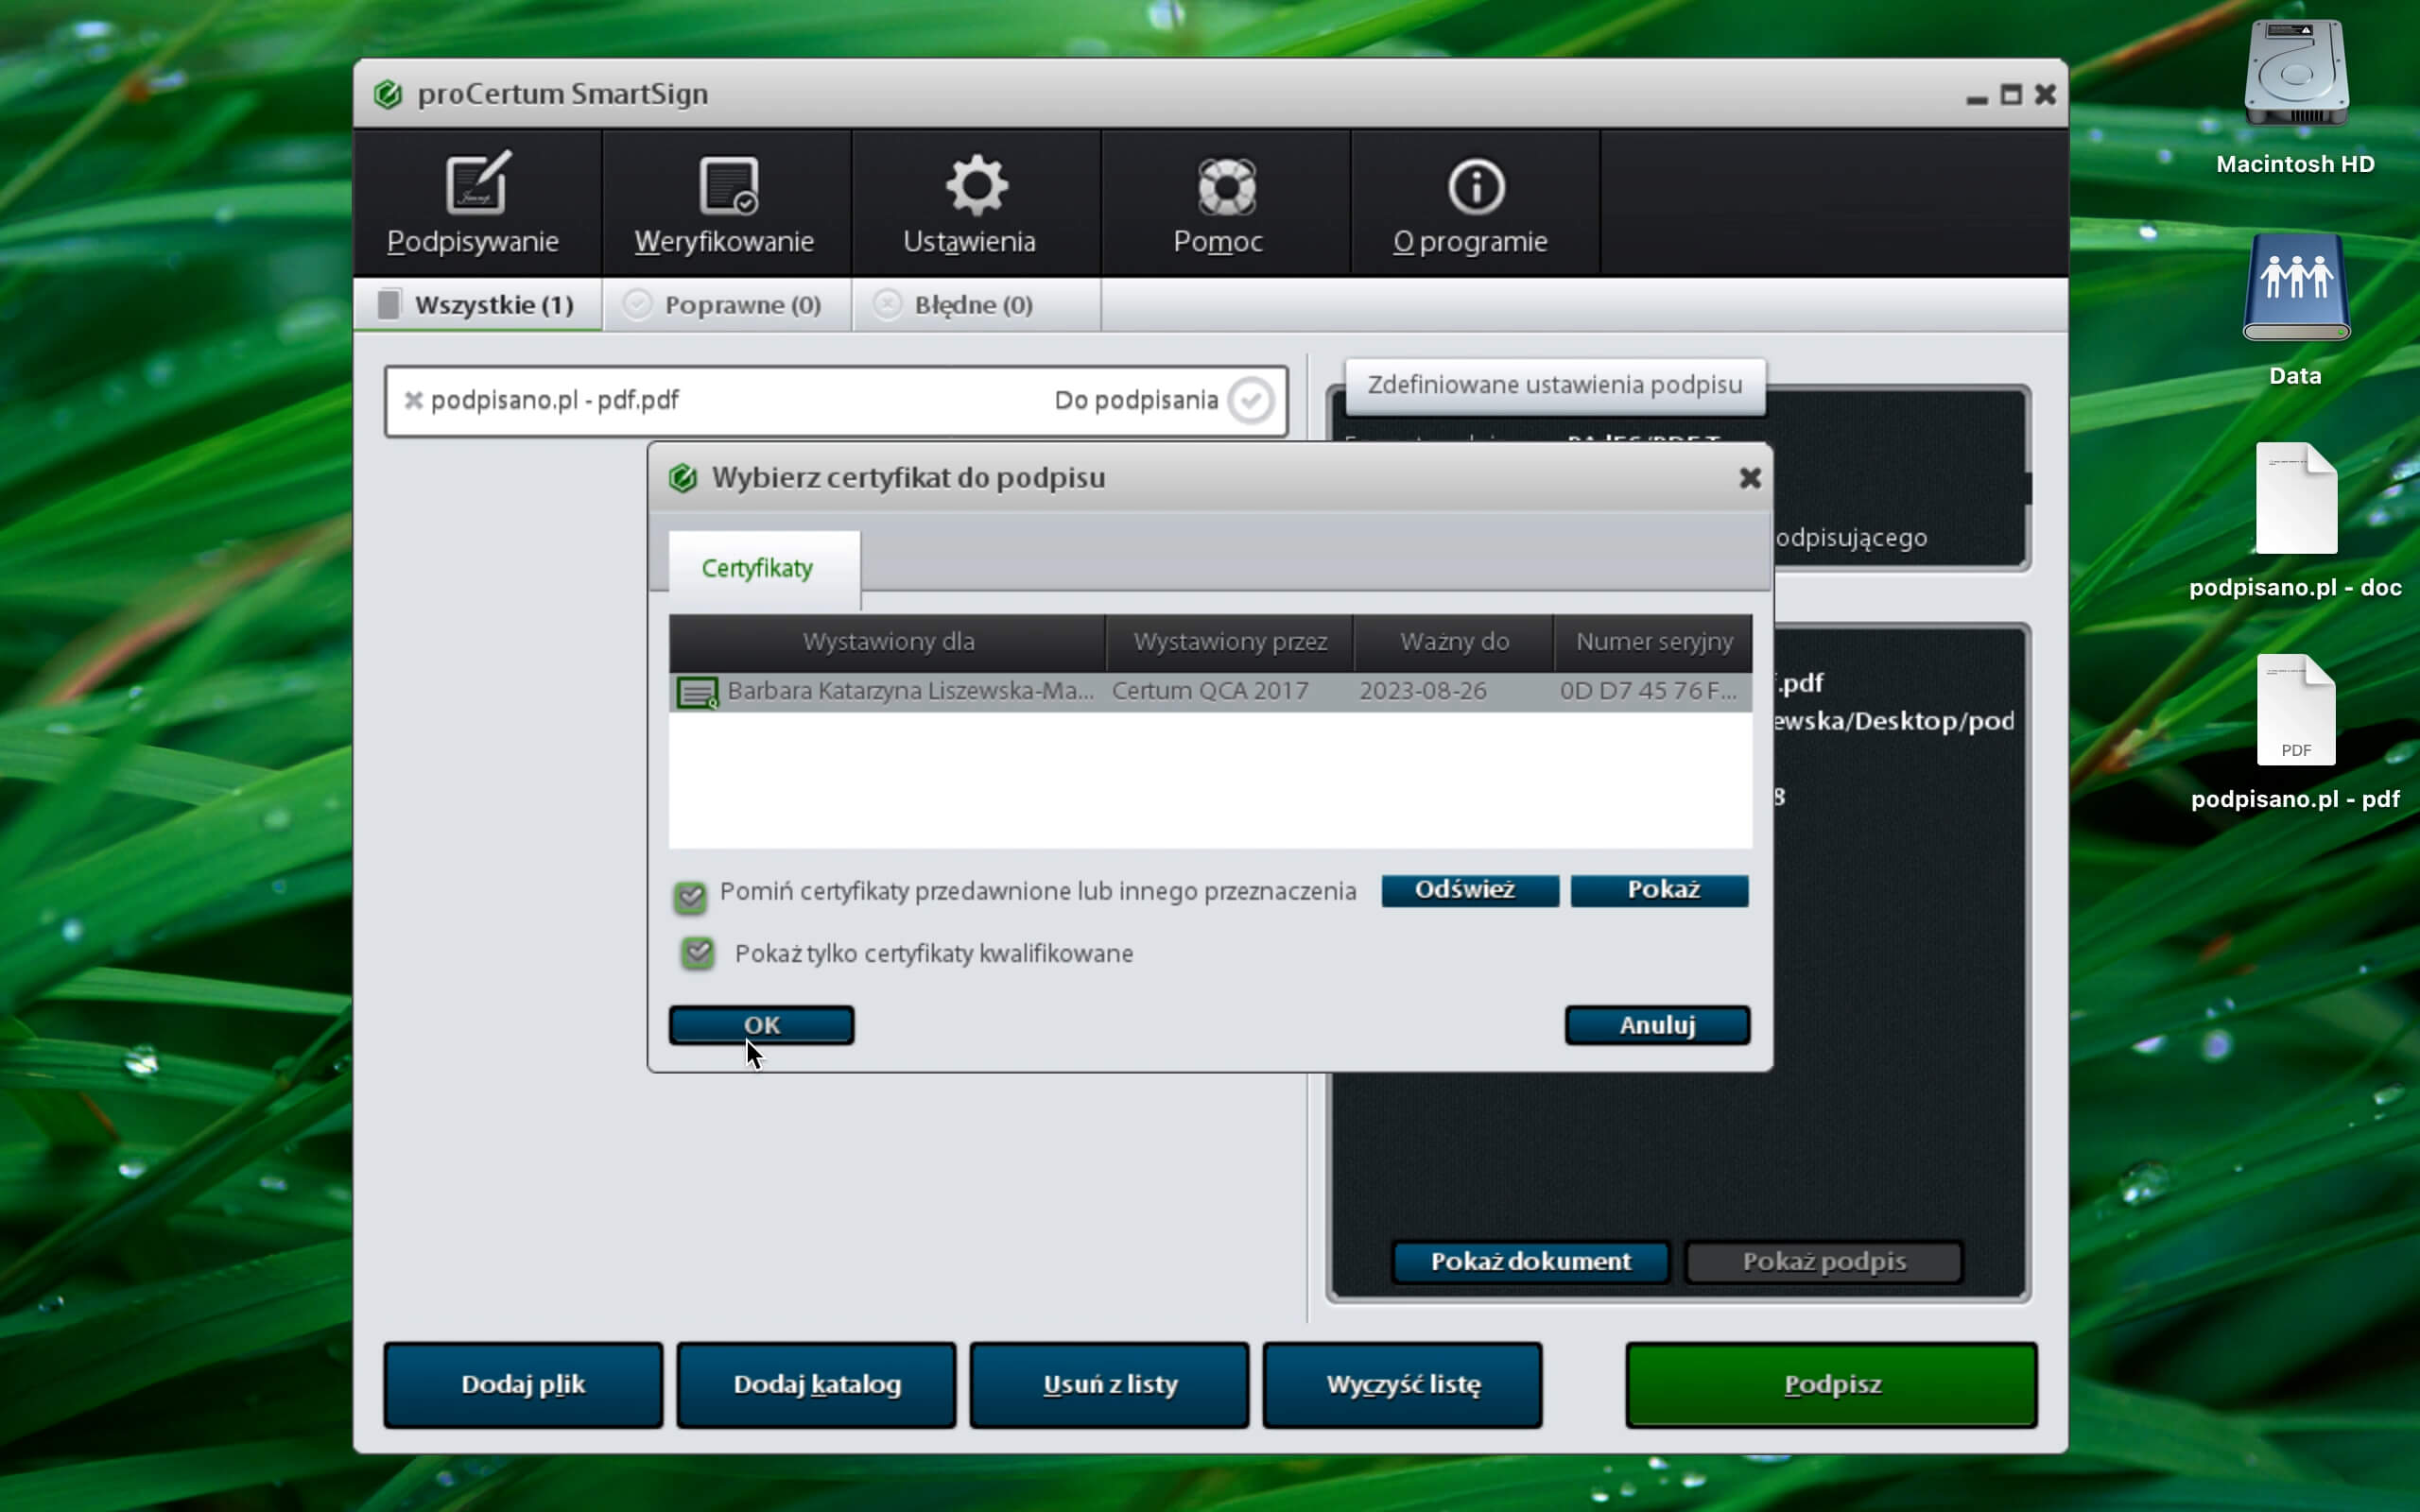
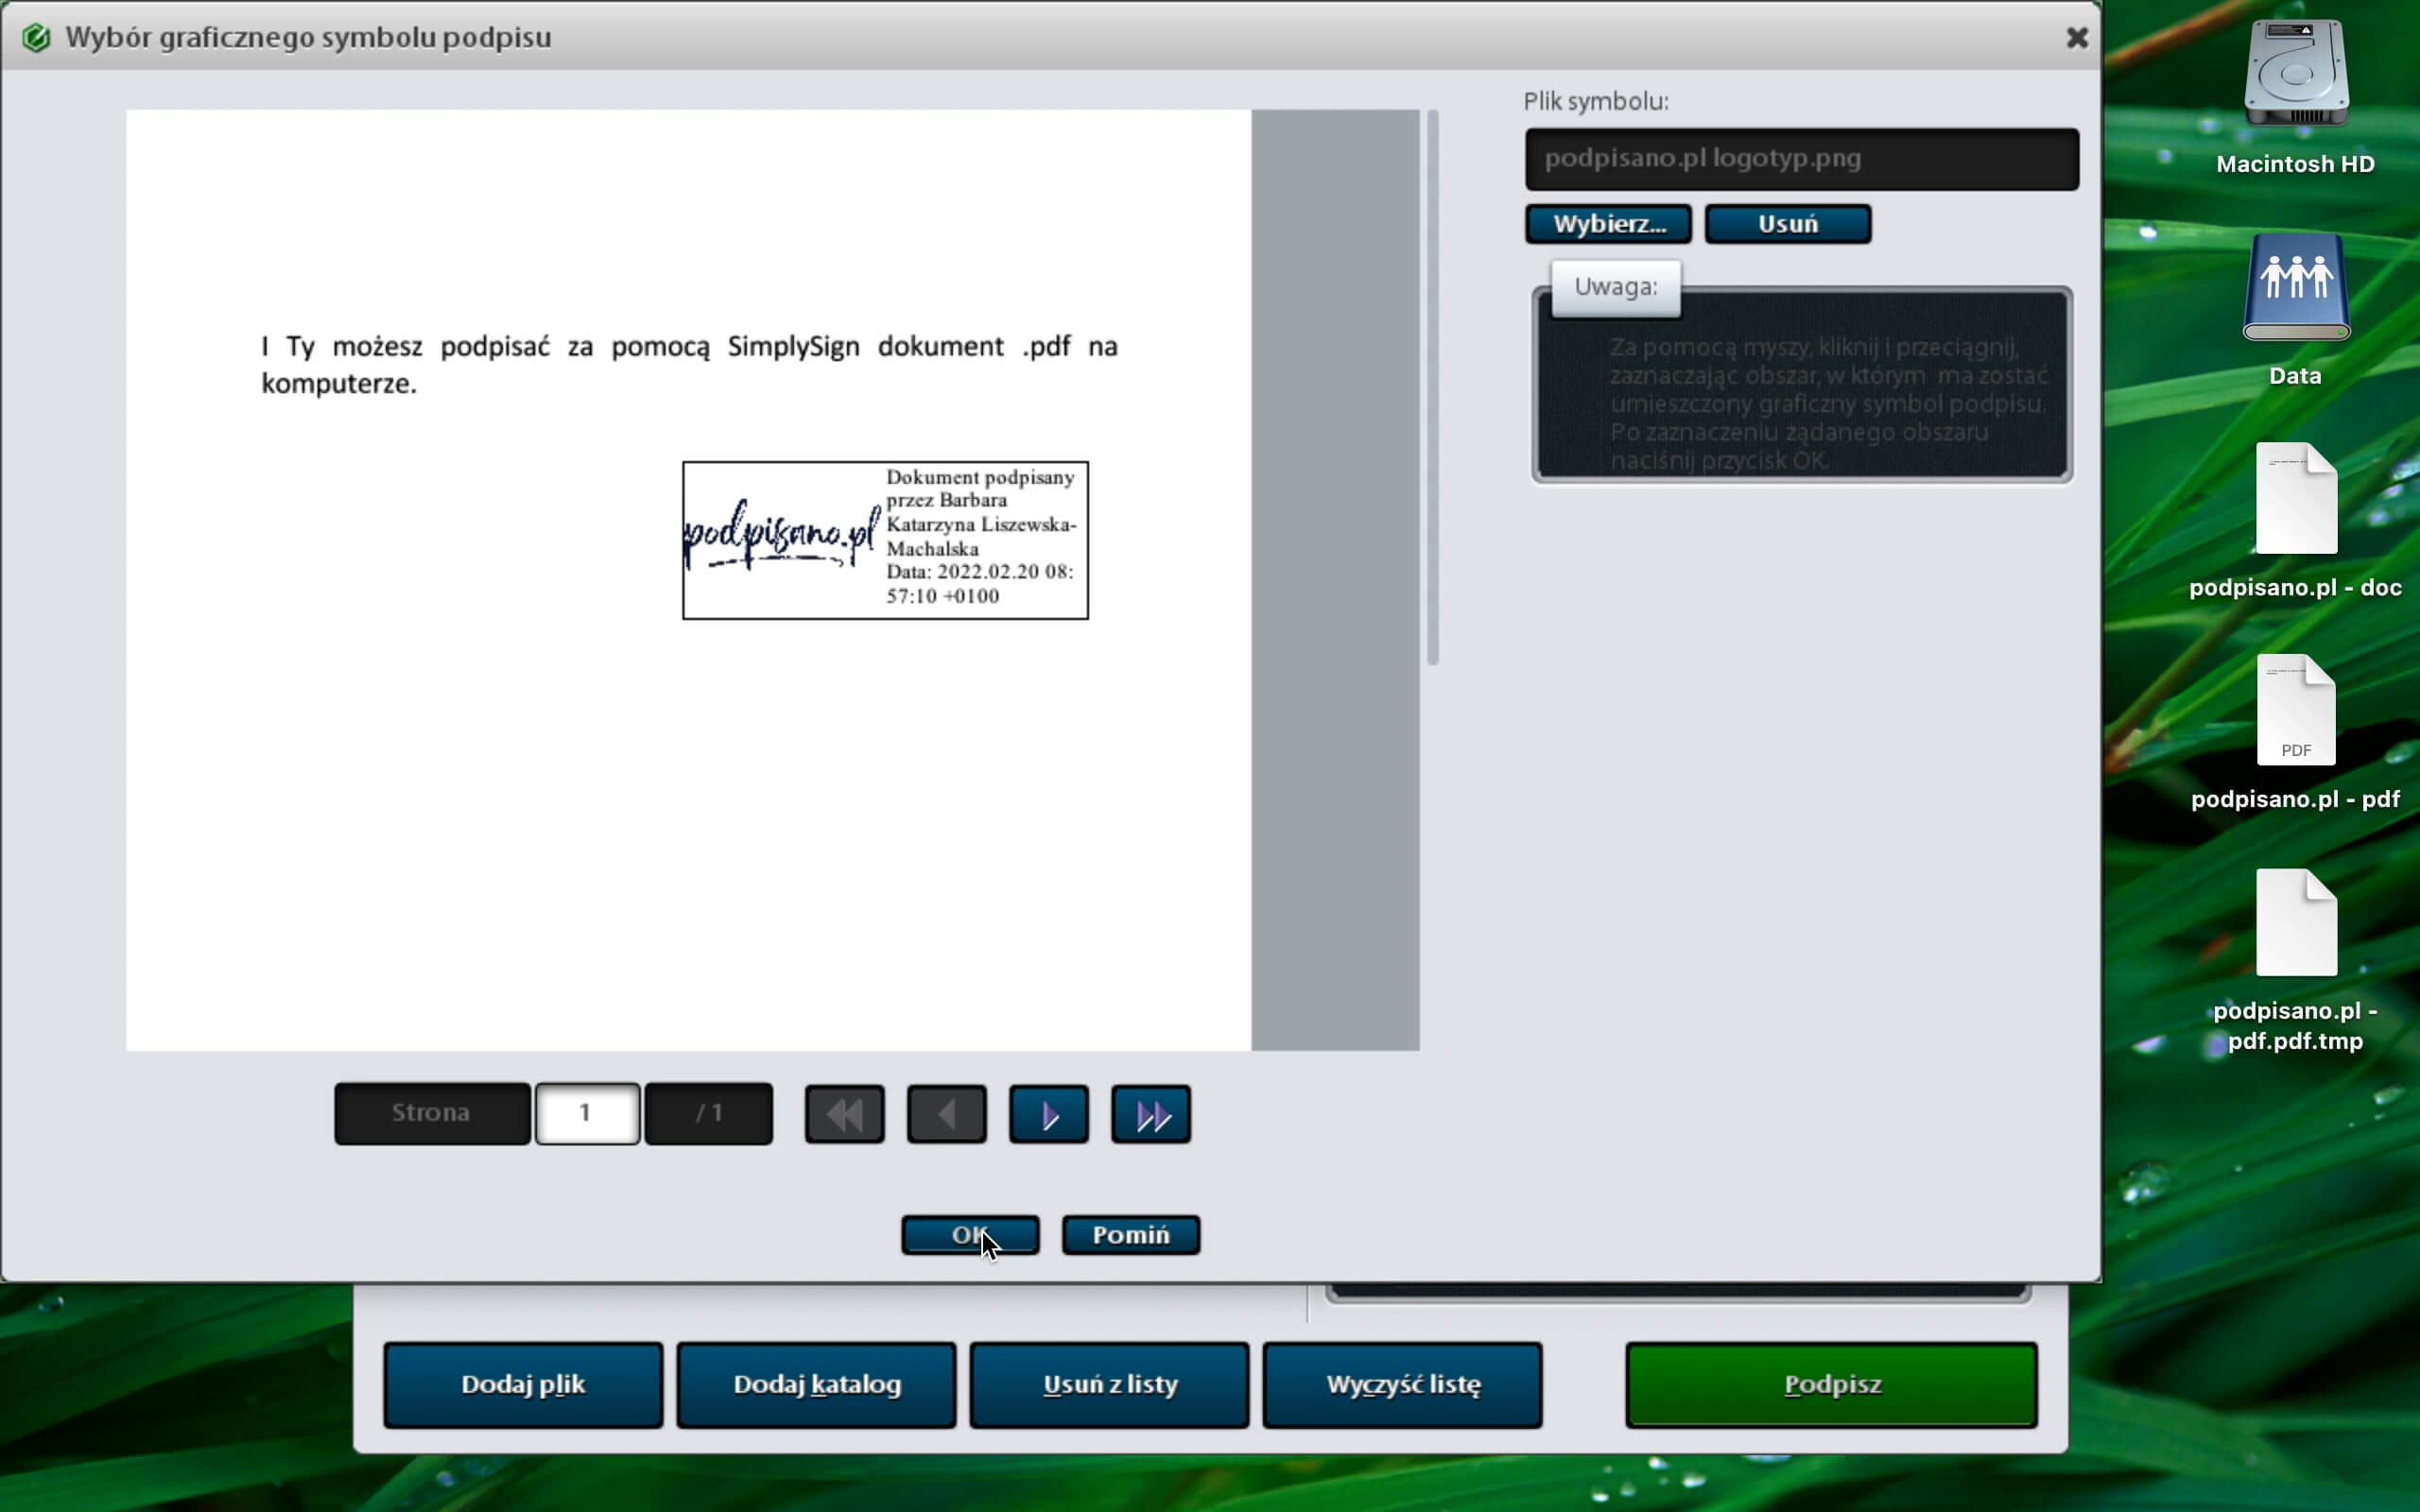
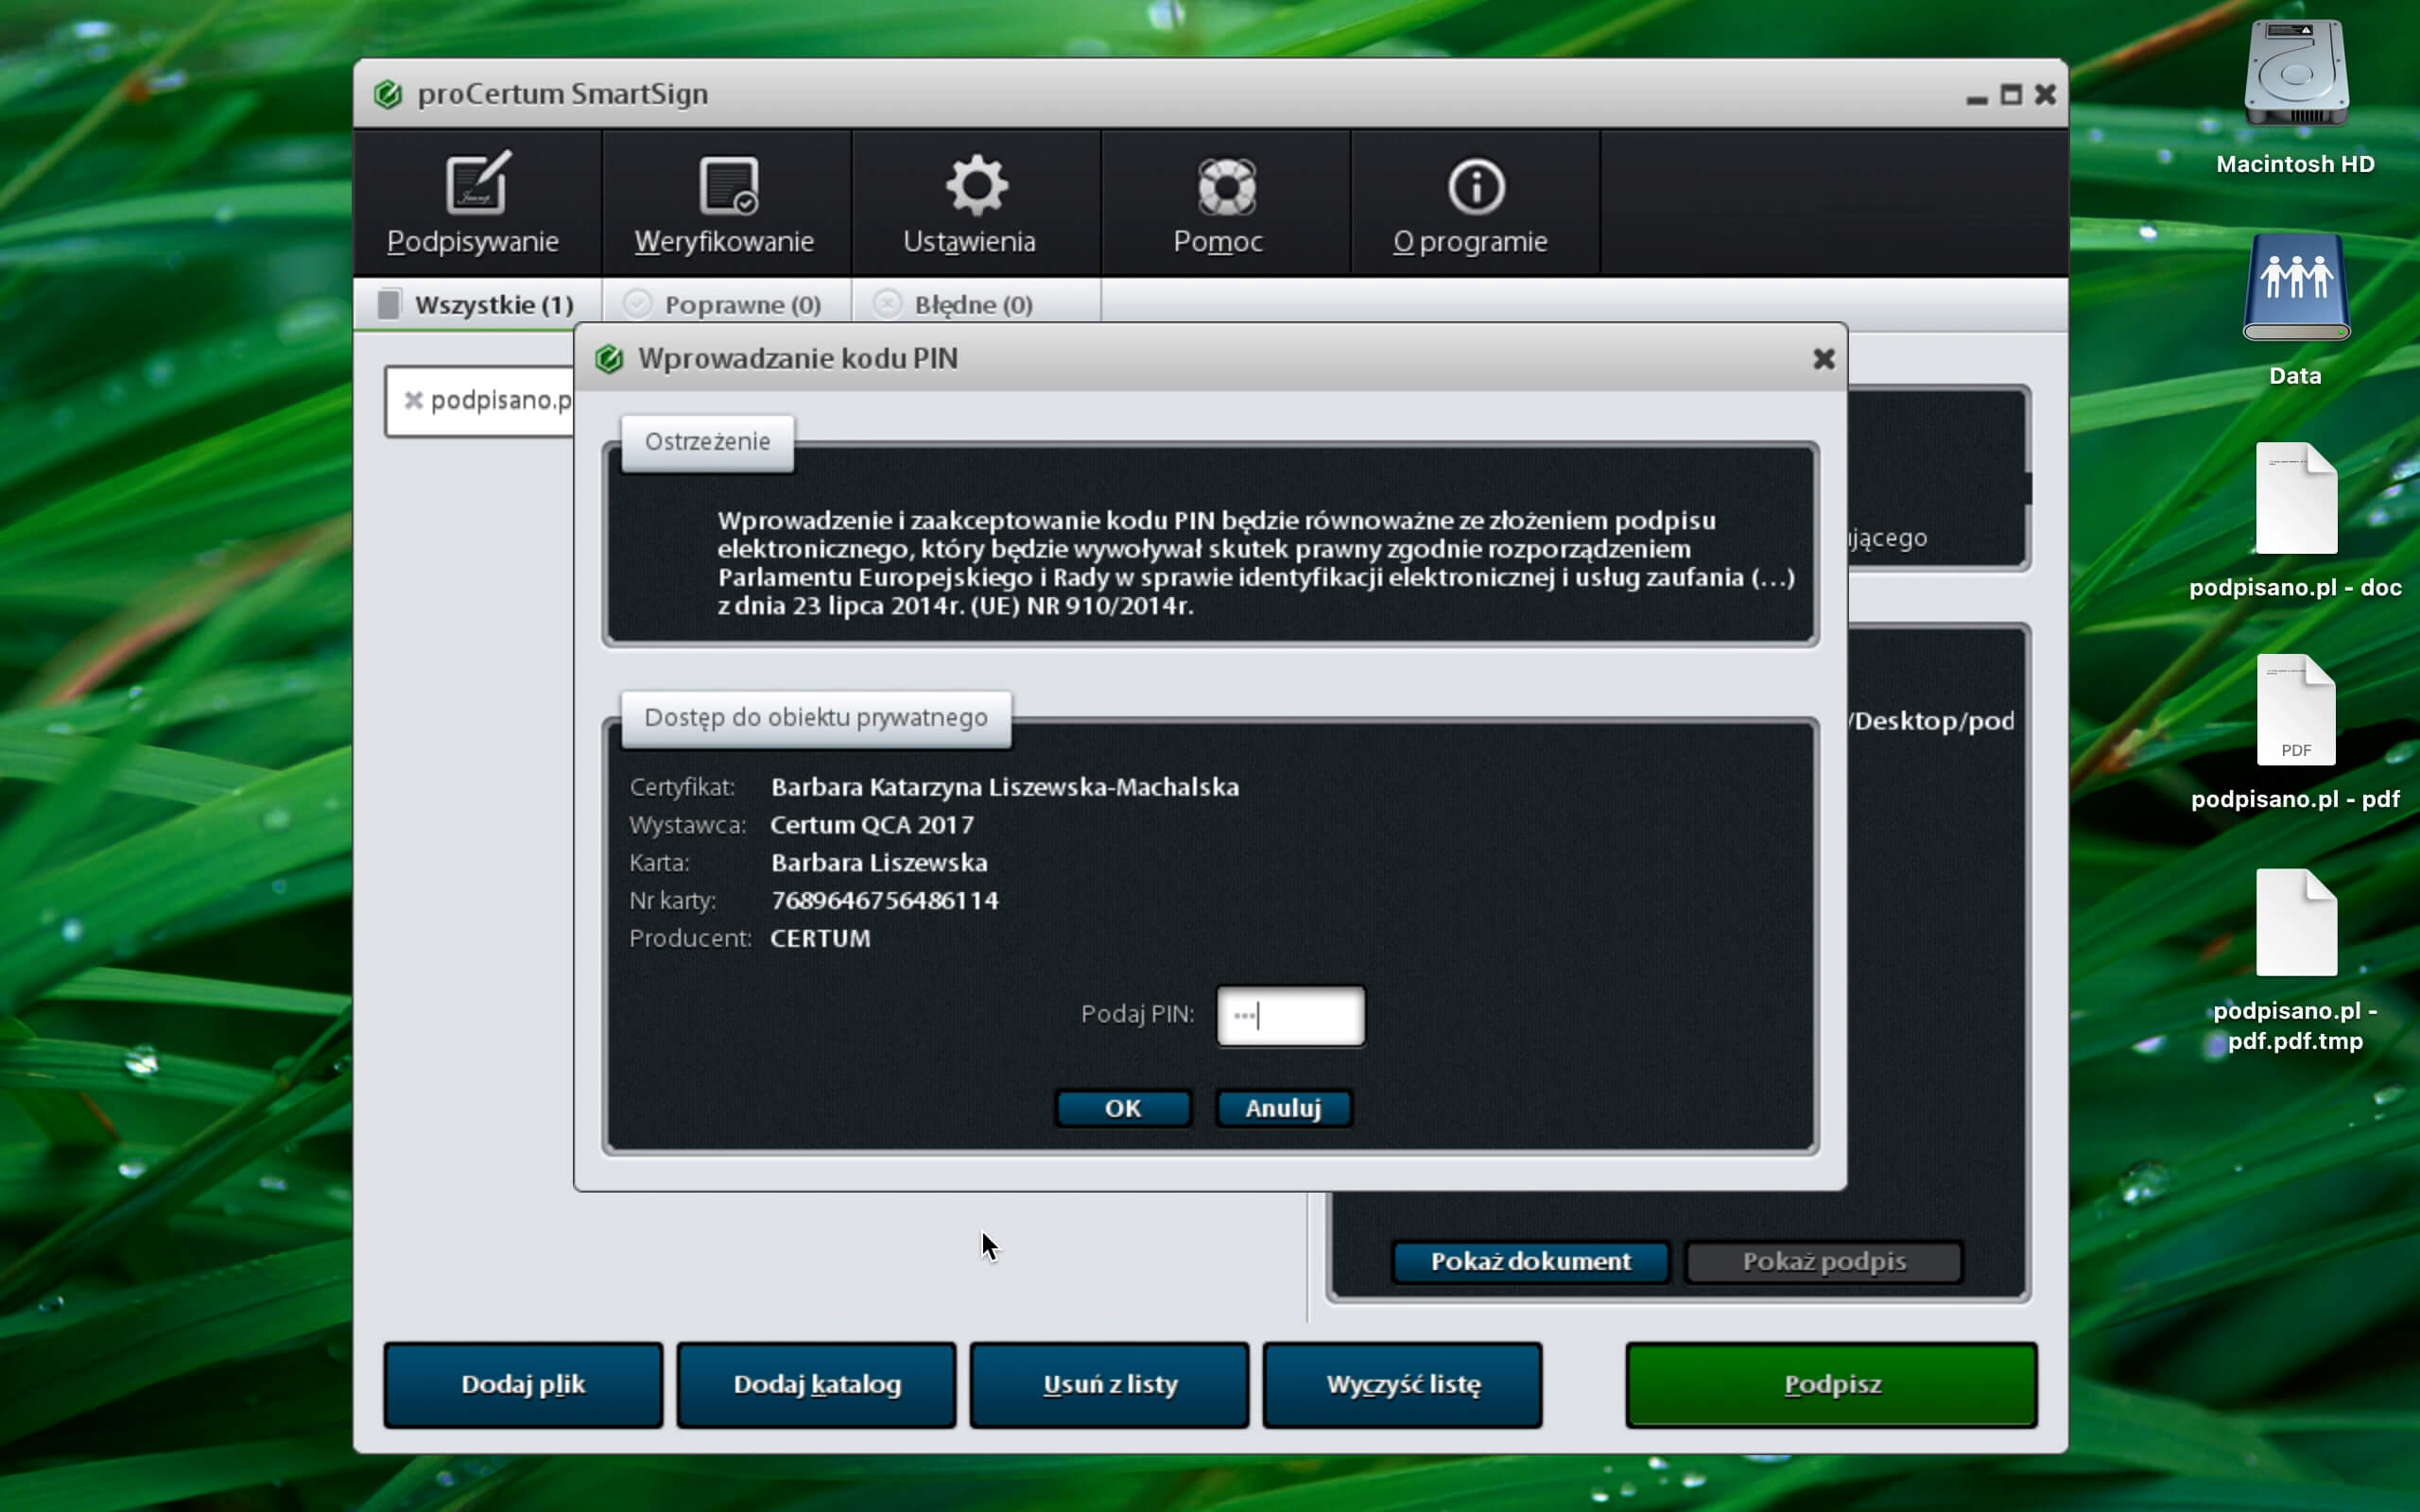
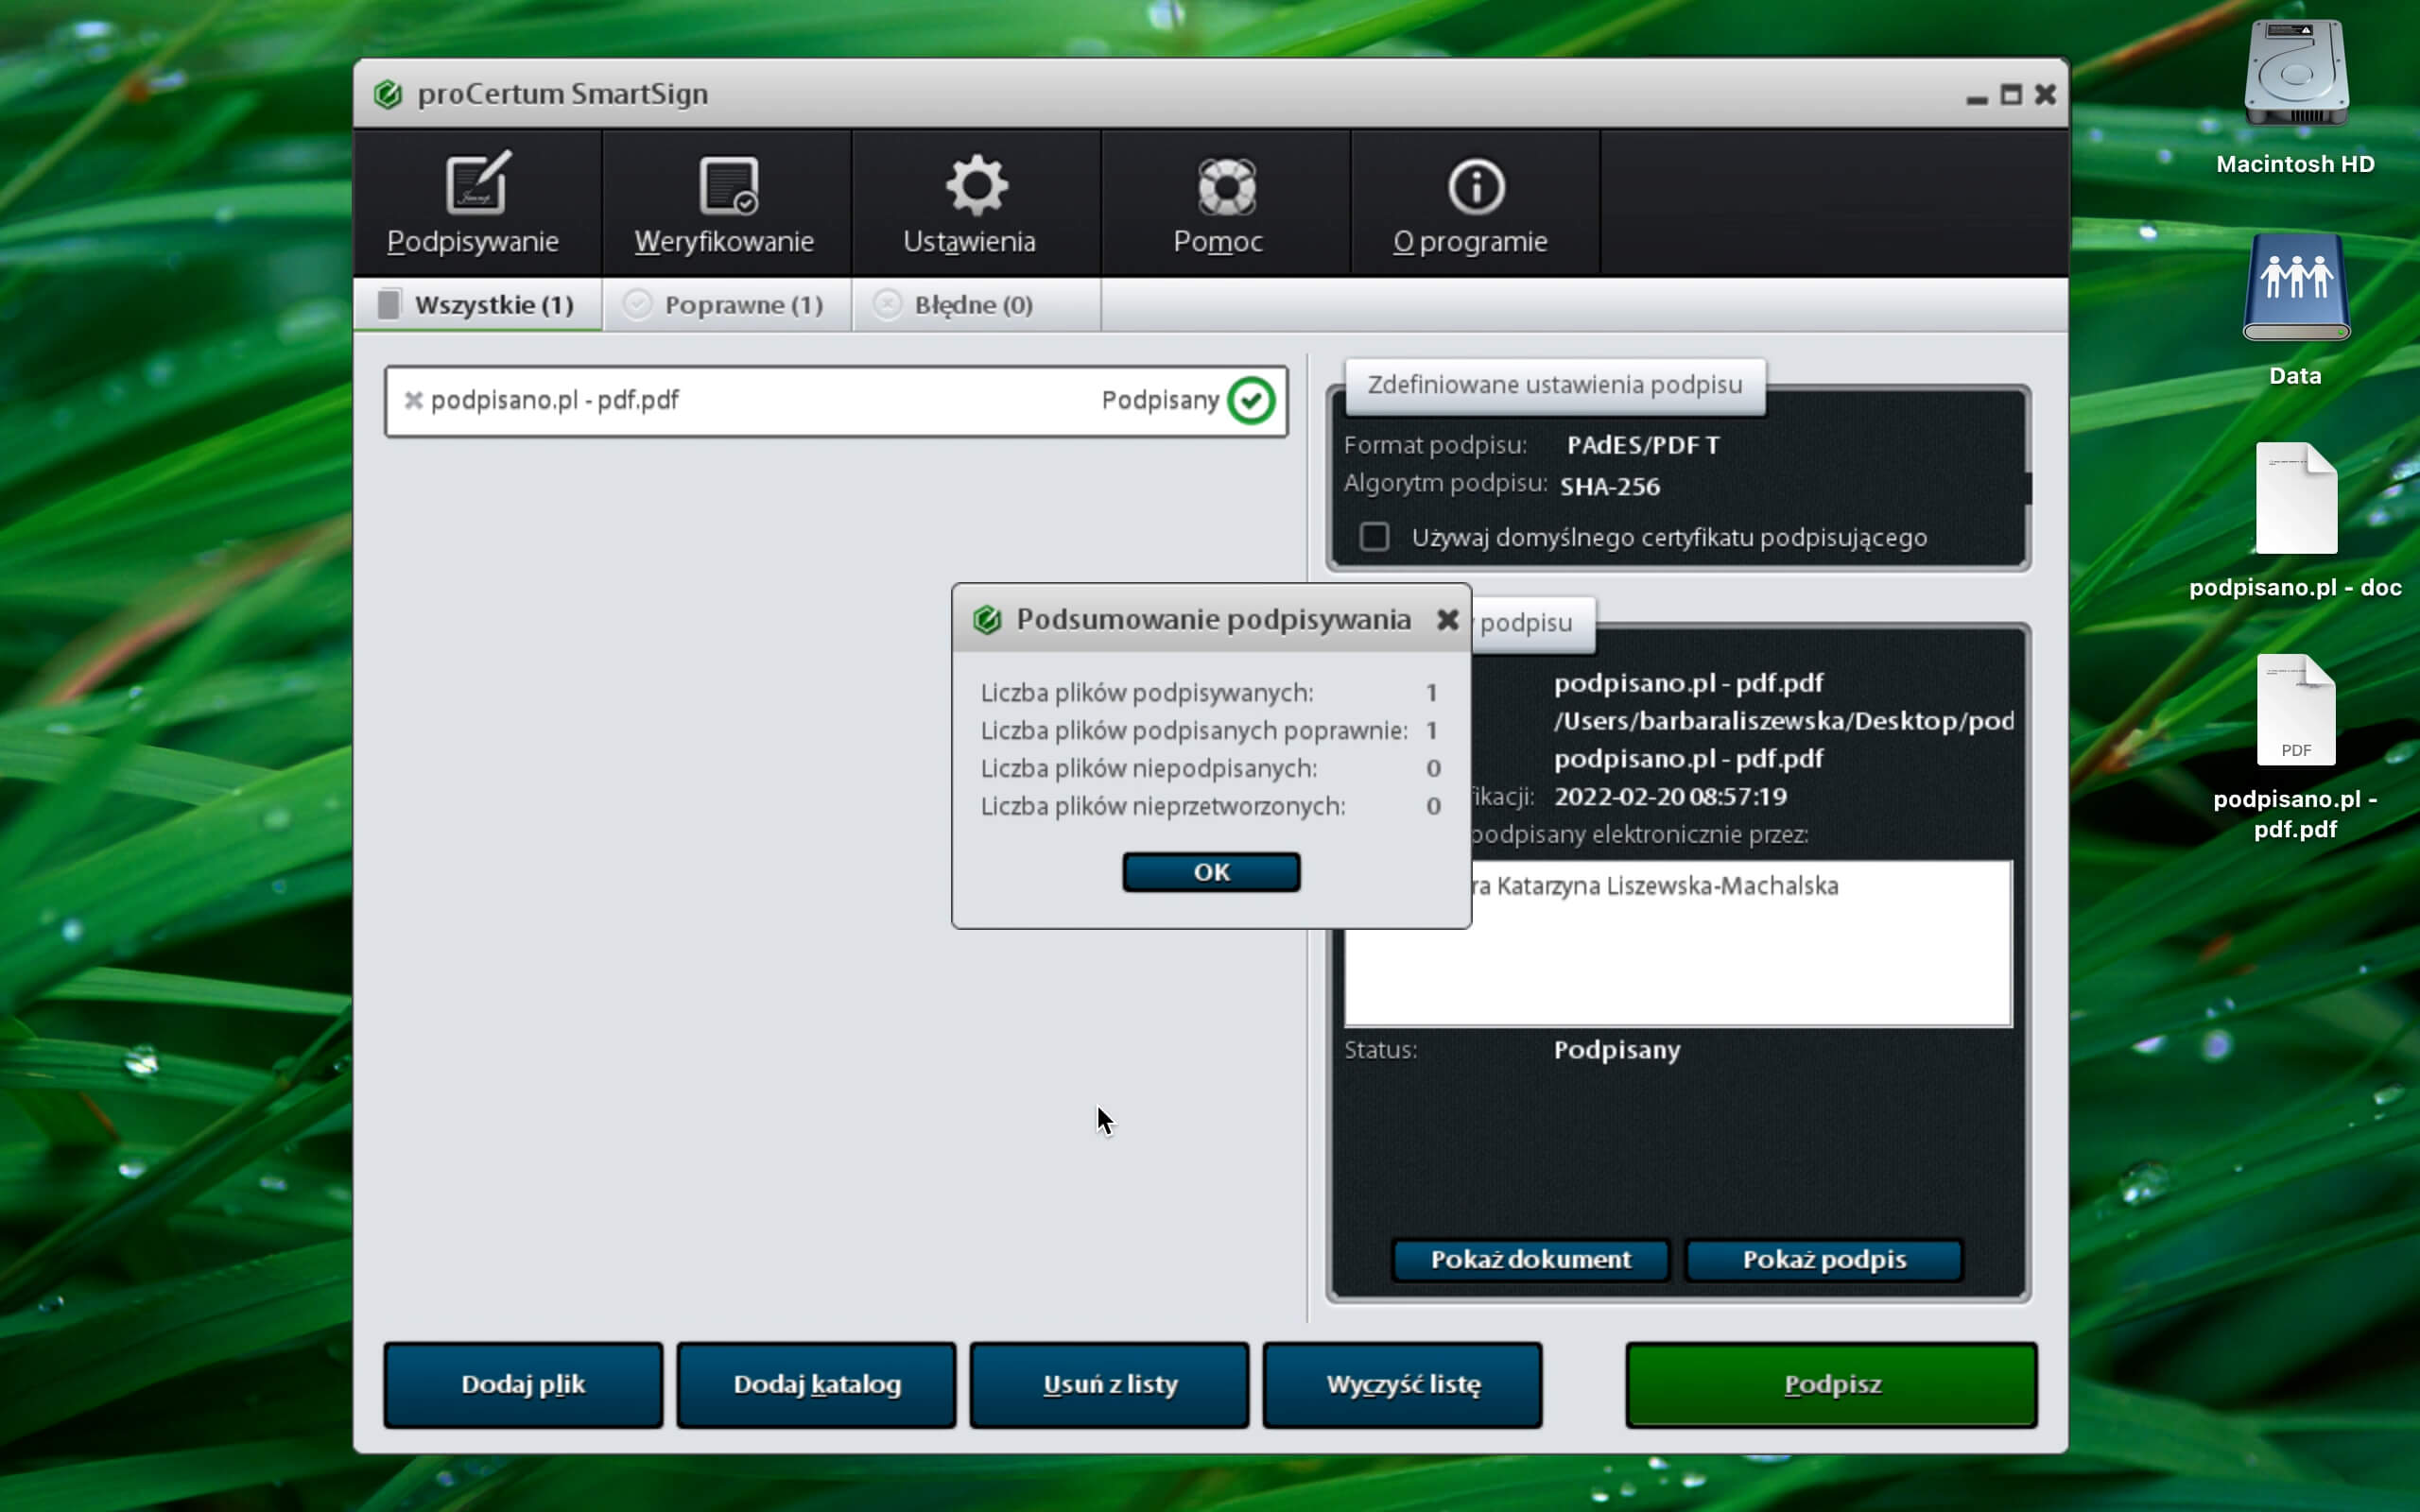
Signing a PDF document:

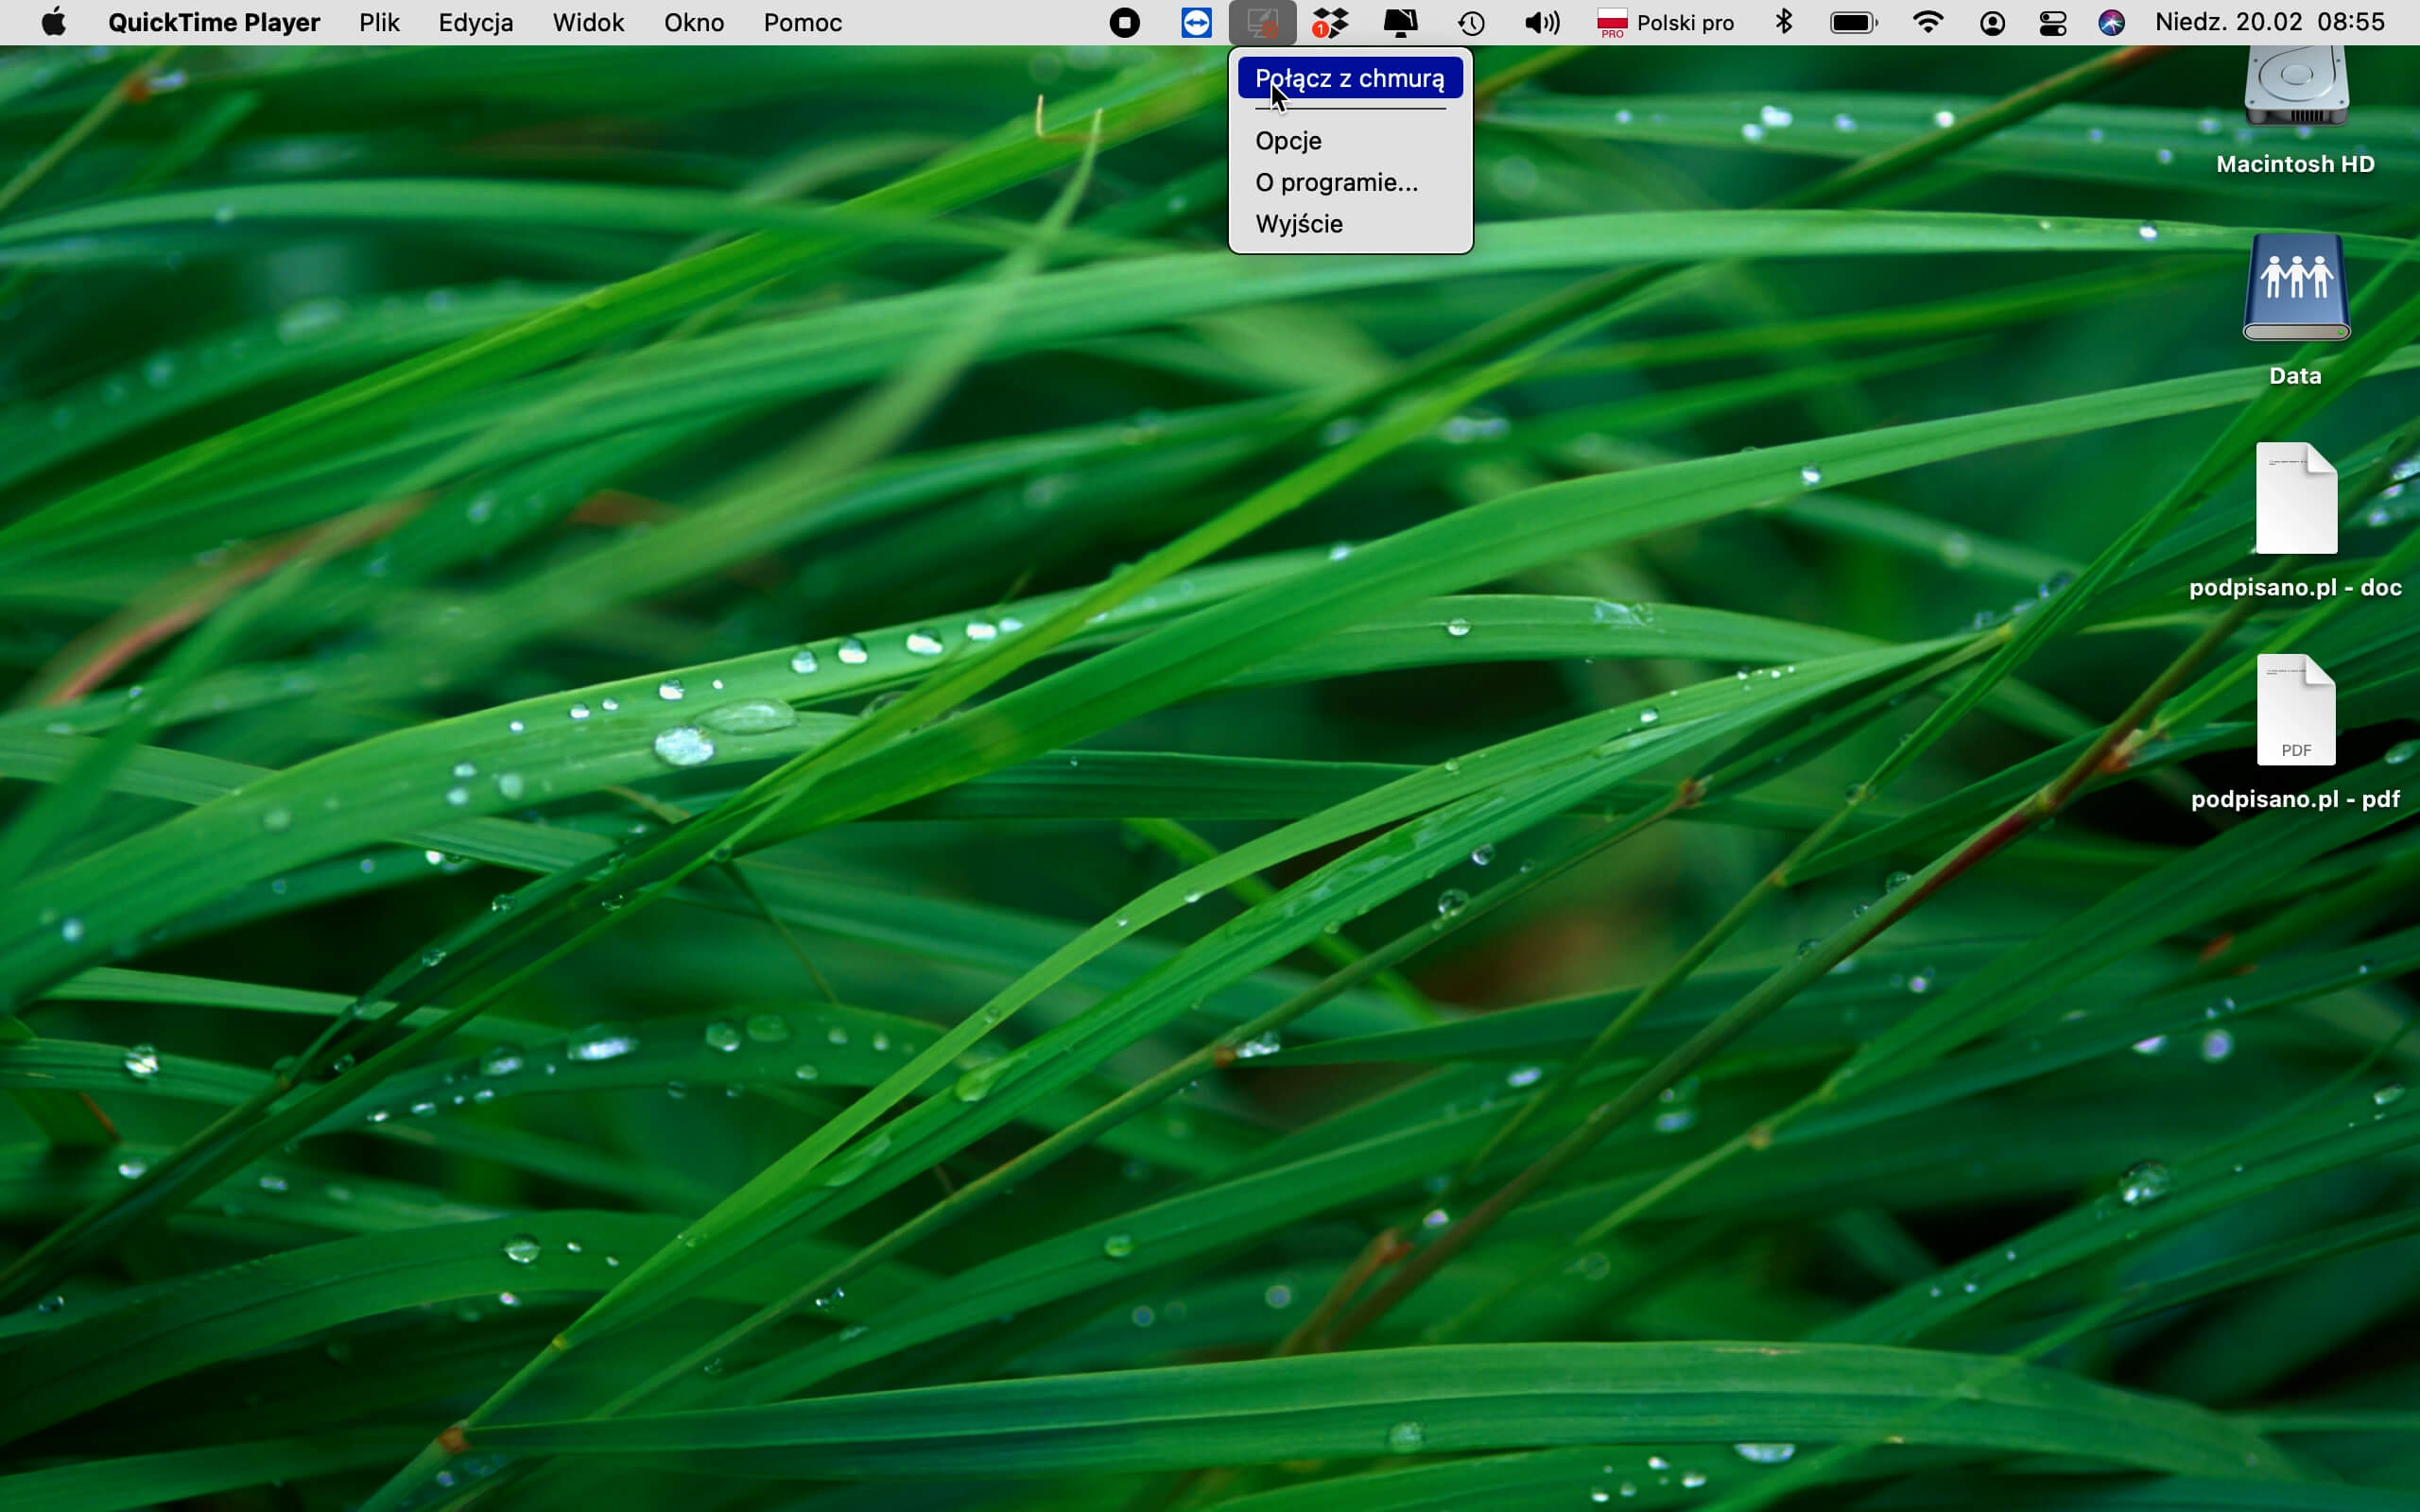
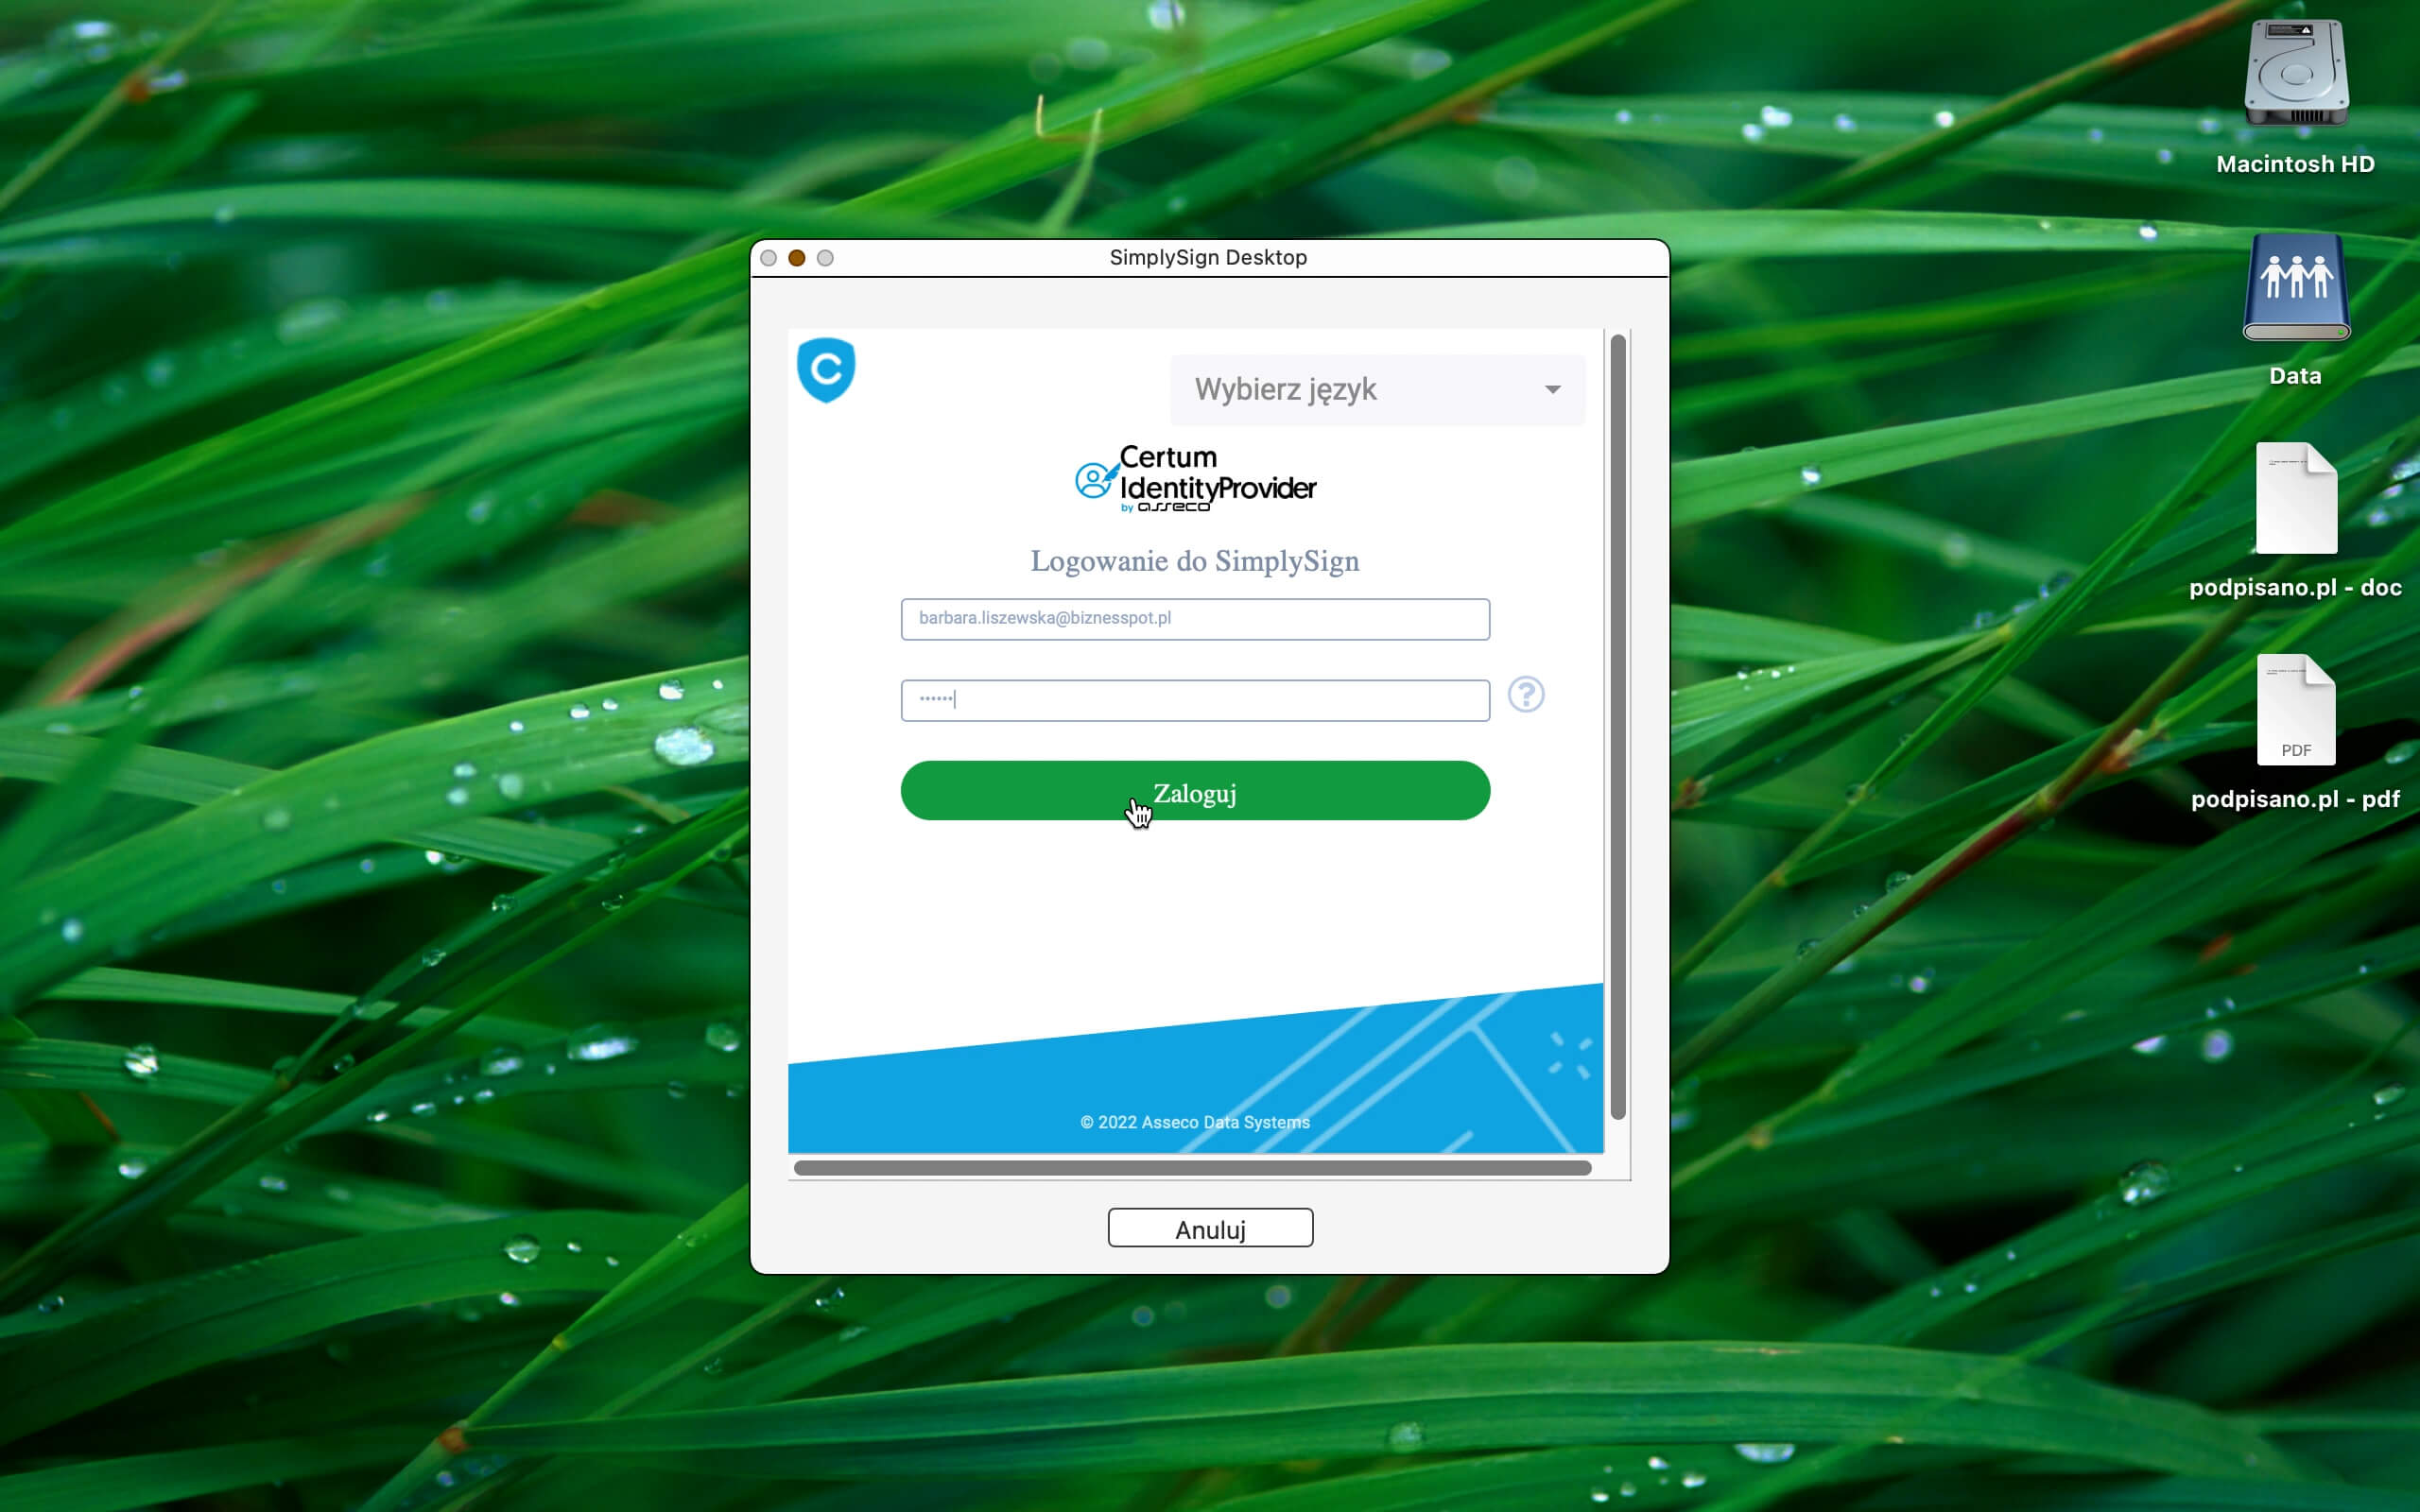
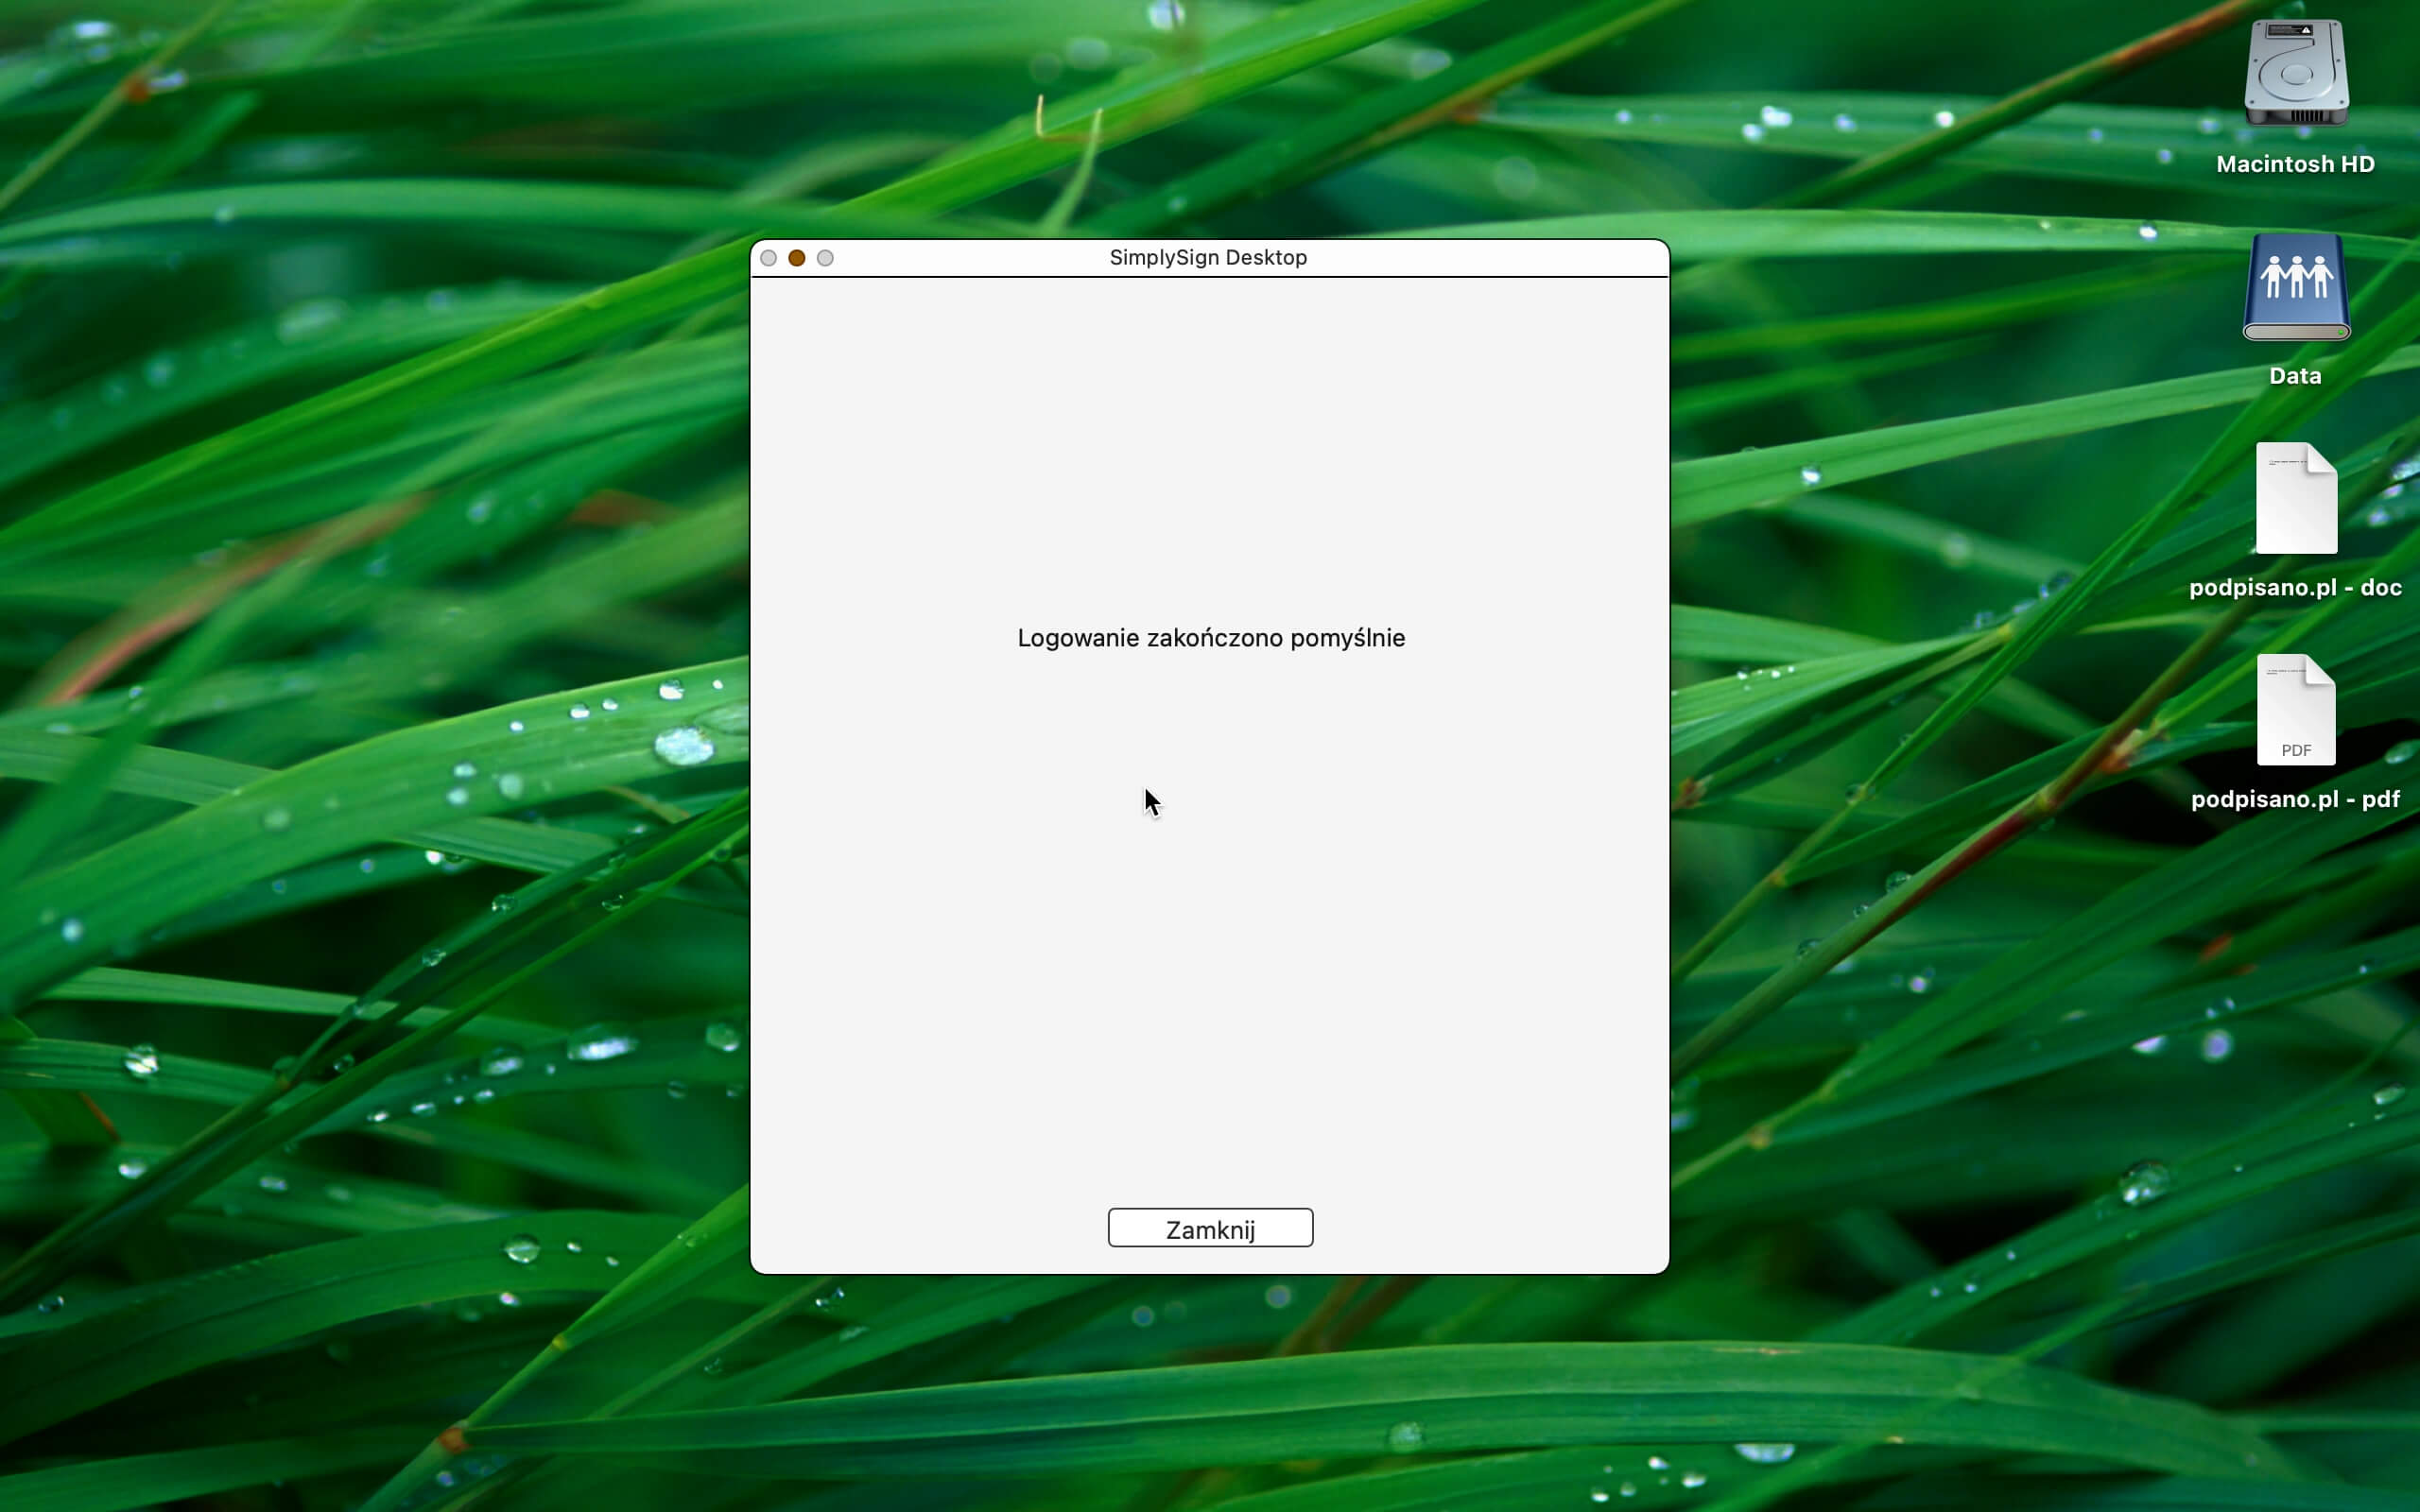
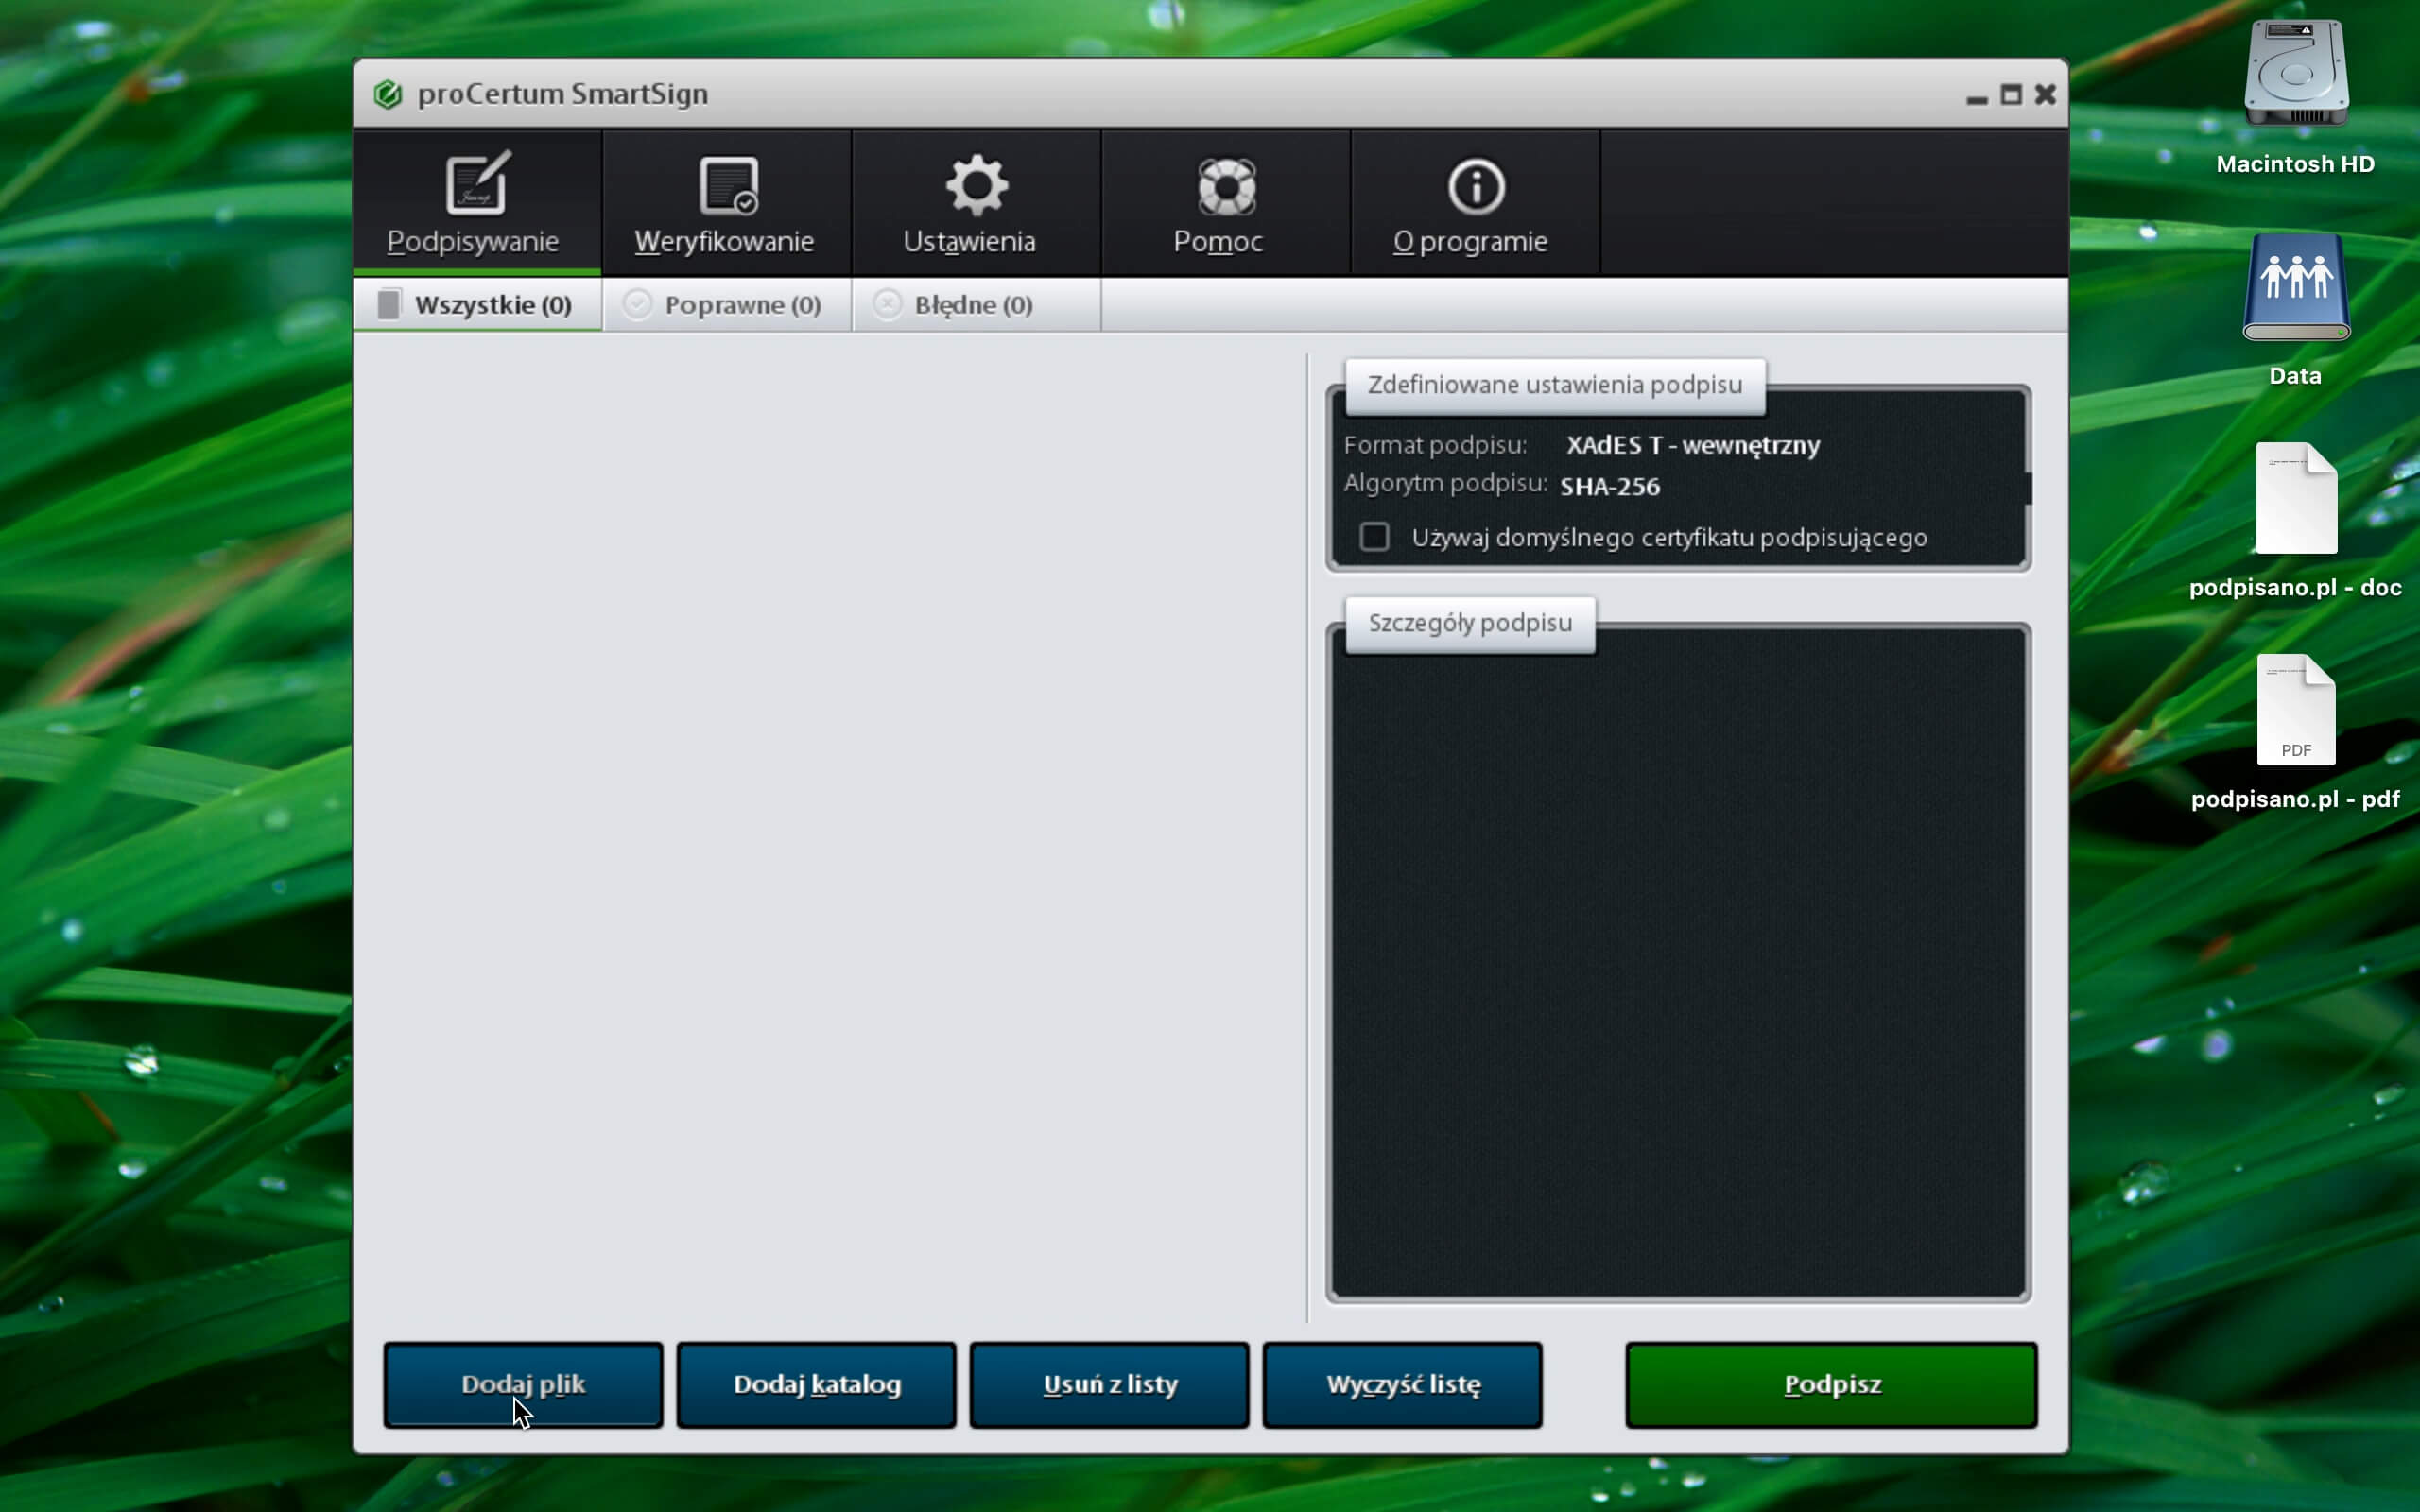
Below is a video showing the entire process of signing a document on a Mac, and below it is a detailed description of all the steps, along with screenshots. We suggest - watch the video, and then sign the document, step by step going through our instructions. If you have any doubts, contact us. We will help 🙂

Detailed instructions

1. connecting to the Certum cloud

Before you start signing documents on your computer, make sure you are connected to the Certum cloud. On a Mac where SimplySign Desktop is installed, select the Certum Cloud icon from the system's top navigation bar and click the "Connect to the Cloud" option.
If you do not see such an option, it is likely that SimplySign Desktop has not been installed on your computer, or it did not start at startup. To fix this problem, get Certum's help by clicking the link below.
SimplySign - troubleshooting
connecting to the Certum cloud using SimplySignDesktop -. podpisano.pl

2. logging into the Certum cloud

To log in to the Certum cloud, you need to enter the email address to which you registered your SimplySign signature and a token. You will generate the token on your phone in the SimplySign app.

If for some reason you do not have your login credentials or cannot log in, please contact Certum. The link below will redirect you to their contact information page.

Installation instructions
logging into the Certum cloud using SimplySignDesktop -. podpisano.pl

3 Confirmation of login to Certum cloud

Confirmation that you have successfully logged into the Certum cloud is the message that will be displayed on your computer. Now you can close this window.
Certum cloud login confirmation using SimplySignDesktop -. podpisano.pl

4. launching proCertumSmartSign - an application used to create a signature

The next step is to launch the proCertumSmartSign application (green hexagon with a pen) on your computer.

If you don't see such an icon, type the name of the program into the Spotlight search engine or find it in the list of applications. If you can't find it, most likely you don't have this program installed on your computer, in which case use the link below.

Installation instructions
Launching the proCertumSmartSign application -. podpisano.pl

5. adding a file for signature

In the lower left corner there is a button "Add file". - click.
Adding a pdf file for signing - podpisano.pl

6. finding files to sign

When you open the "Search in:" window then you have the option to search the contents of your computer or the cloud to find your file to sign. Select the folder where the files you want to sign are located.
Finding pdf files for signature - podpisano.pl

7. adding documents for signature

Now you can add the documents that you want to sign. It does not have to be just one document. You can sign multiple documents at the same time. However, if you want to add graphic visualization of the signature on them, they must have the same layout. Otherwise, you have to sign each document separately.
Adding a pdf document for signature - podpisano.pl

8. preparation for signature

Once you have selected the documents to be signed, all you have to do is click the green "Sign" button located in the lower right corner.
Acceptance of pdf document for signature - podpisano.pl

9. certificate search

After clicking on the "Sign" button, there is a search phase for your certificate. It will be found thanks to the fact that you logged into the Certum cloud in steps 1 and 2.
Search for signature certificates - podpisano.pl

10. certificate selection cont.

On the screen you can see the certificates of people who used the same application. Mark yours, of course.
Installation instructions
Choosing a certificate for signature - podpisano.pl

11. certificate selection

Confirm the selection of your certificate by clicking "OK" in the left corner of the window.
Certificate selection - podpisano.pl

12. the initial stage of Simplysign

In this step, the application prepares your certificate for SimplySign signature on the attached documents.
The initial stage of Simplysign - podpisano.pl

13. graphic visualization of the signature

The application will open the document you want to sign. You can choose where you want the graphic visualization of the signature to be. If the document has several pages, you can go to the appropriate one and there select the box where you want the signature to be located. To select the box, click with the left mouse cursor and draw a square, rectangle. If you do not like the space, you can change it by repeating the same action.
Only one signature can be made on one document by you. Independently, other people can sign it, but also only once.
Graphic visualization of the signature - podpisano.pl

14 Confirmation of the place of graphic visualization of the signature

Once you have selected where you want to see the graphic visualization of the signature, then just click "OK" below to proceed.
Installation instructions
Confirmation of the place of graphic visualization of the signature -. podpisano.pl

15. signature by entering the PIN code

The final moment is to enter your PIN.
Signing by entering a PIN code -. podpisano.pl

16. when the document is signed

You have signed the document. You can see this in the app in several places:
- "Signed" text and a green bird next to the document name
- on the right side in the black box you will find the details of the signature you made.
When a document is signed - podpisno.pl

17. when a document is signed - cont.

Finally, a window will be displayed in the middle with another confirmation of a correctly submitted signature. You will find the signed PDF file in the same place you downloaded it from. Your signature has been added to it. You can further check this by opening the document in Adobe Reader DC.
When a document is signed - podpisno.pl
Technical assistance

The installation of qualified electronic signatures software and their integration into the software is not a trivial thing. Therefore, we are happy to provide assistance.

Using the form on the left side of this page, select a convenient time for a short 15-minute conversation. If we can't help you in that time, right away, we'll set up a longer appointment so that you can go through the process without rushing.

Below you will find basic information on the integration of Certum qualified signatures with the most popular programs.

Adobe Acrobat

Certum has been added to the Adobe Approved Trust List (AATL), enabling all users around the world, to create electronic signatures using SimplySign and Certum Mini in Adobe Reader and Adobe Acrobat
Installation instructions

Payer

Instructions for installing Certum certificates in the Payer program
Installation instructions for the Payer program